
How to Install a Lace Front Wig
Contents
hide
Introduction: Embracing the Versatility of Lace Front Wigs
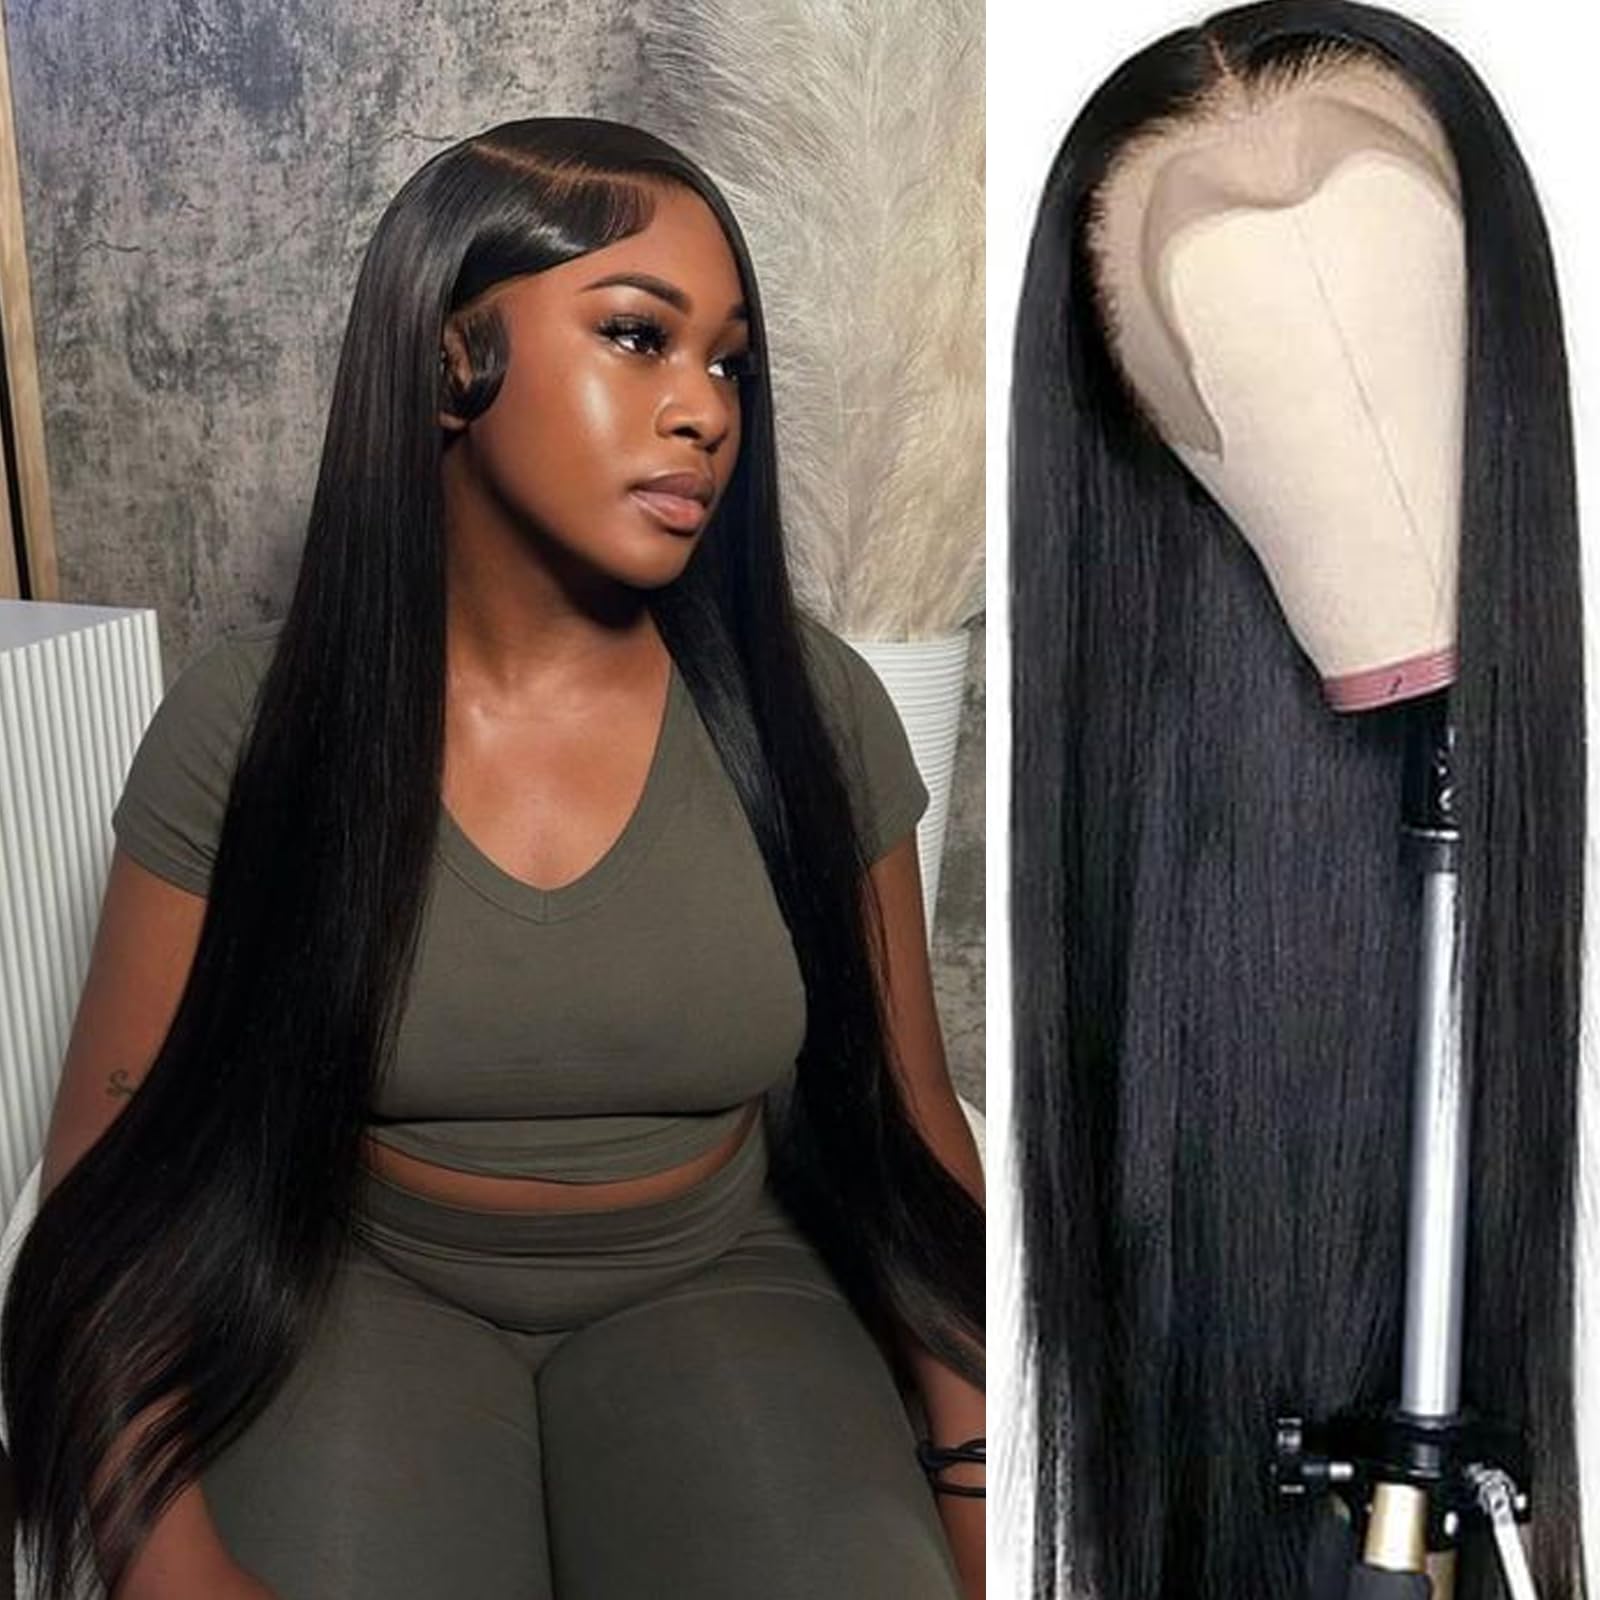
Lace front wigs offer a natural-looking hairline and unparalleled versatility. They allow wearers to change their hairstyle quickly and easily. How to install a lace front wig?This guide will walk you through the step-by-step process of installing a lace front wig. By following these instructions, you’ll achieve a flawless, secure, and natural-looking result. Whether you’re new to wigs or looking to refine your technique, this comprehensive guide has you covered. From preparation to final styling, learn how to install your lace front wig like a pro.
Gathering Your Tools: Setting the Stage for Success
Before diving into the installation process, it’s crucial to gather all necessary tools and materials. Start by collecting a wig cap, wig adhesive or tape, scissors, alcohol-based cleanser, cotton swabs, a small brush or comb, and styling products. Additionally, have a mirror, hair clips, and a wig stand (if available) on hand. These tools will ensure a smooth installation process. Moreover, choose a well-lit area with ample space to work. Having everything prepared beforehand will make the installation more efficient and enjoyable. Lastly, don’t forget to have some water and a towel nearby for any quick clean-ups or adjustments.
Preparing Your Natural Hair: Creating a Smooth Foundation
Proper preparation of your natural hair is key to a successful wig installation. Begin by washing and conditioning your hair to ensure a clean base. Next, thoroughly dry your hair and apply a moisturizer to keep it healthy under the wig. If you have long hair, braid it close to your scalp in cornrows or secure it in flat twists. For short hair, simply brush it back away from your forehead. After styling your natural hair, put on a wig cap that matches your skin tone. Ensure the cap is snug but not too tight, covering all your natural hair. This step creates a smooth foundation for the wig and helps protect your natural hair. Finally, secure any loose edges of the wig cap with bobby pins if needed.
Customizing Your Lace Front: Tailoring the Wig to Your Unique Features
Now it’s time to customize the lace front to fit your unique hairline. Place the wig on your head without securing it. Align the wig’s hairline with your natural hairline, ensuring it’s centered. Using a white eyeliner or chalk, mark where your natural hairline begins. Carefully remove the wig and lay it on a flat surface or wig stand. With sharp scissors, trim the excess lace along the marked line, cutting in a zigzag pattern for a more natural look. Be cautious not to cut too close to the hairline of the wig. After trimming, try on the wig again to check the fit. Make any necessary adjustments by trimming a bit more if needed. Remember, it’s better to trim less initially, as you can always cut more later.
Cleansing the Skin: Preparing for a Secure Bond
A clean scalp is essential for the adhesive to bond properly. Start by pulling your wig cap back slightly to expose your hairline. Using an alcohol-based cleanser and cotton swabs, gently clean the area where the lace front will be applied. This step removes any oils, dirt, or residue that could interfere with the adhesive. Pay special attention to the forehead, temples, and around the ears. Allow the cleaned areas to dry completely before proceeding. While waiting, you can use this time to style the wig if needed. Once the skin is dry, avoid touching the cleaned areas to maintain their cleanliness. This step ensures maximum hold and longevity for your wig installation.
Applying Adhesive: Securing Your Wig with Precision
Choosing the right adhesive is crucial for a long-lasting hold. Options include liquid adhesives or wig tape. For liquid adhesive, apply a thin, even layer along your hairline using the applicator or a small brush. Allow it to become tacky before proceeding. If using wig tape, cut strips to fit along your hairline and carefully place them. Regardless of the method, work in small sections for precise application. Apply the adhesive or tape slightly behind your natural hairline to prevent it from showing. Be cautious around the temples and ears, as these areas can be sensitive. Once the adhesive is in place, wait for it to reach the right tackiness as per the product instructions. This patience ensures a strong bond between the lace and your skin.

Positioning the Wig: Achieving a Natural Hairline
With the adhesive ready, it’s time to position the wig. Carefully place the wig on your head, aligning the front with your natural hairline. Start at the center of your forehead and gently press the lace onto the adhesive. Work your way outwards towards the temples, ensuring the lace lays flat against your skin. Use a small comb or your fingers to press the lace into the adhesive, moving slowly to avoid air bubbles. Pay extra attention to the areas around your ears and at the nape of your neck. If you notice any lifting, apply a bit more adhesive and press down again. Take your time with this step, as proper positioning is key to a natural look. Once the front is secure, adjust the rest of the wig to sit comfortably on your head.
Blending and Styling: Enhancing the Natural Appearance
After securing the wig, focus on blending it seamlessly with your skin. If the lace is visible, you can apply concealer or powder that matches your skin tone to the lace part. Use a small brush to dab the product onto the lace, creating a natural-looking hairline. Next, style the baby hairs along the front for an even more realistic appearance. Use a small brush and some edge control gel to create subtle swoops and swirls. Be careful not to overdo it – less is often more when it comes to baby hairs. Once the front is blended, style the rest of the wig as desired. You can use heat styling tools if the wig is heat-resistant, but always use a heat protectant spray first. Finally, apply a light holding spray to keep everything in place.
Securing the Back and Sides: Ensuring All-Day Comfort
While the front of the wig is now secure, don’t neglect the back and sides. If your wig has combs or clips, gently secure them into your natural hair or wig cap. Be careful not to pull too tightly, as this can cause discomfort. For added security, you can apply adhesive or tape to the nape of your neck and behind your ears. This step is especially helpful if you have an active lifestyle or live in a windy area. Make sure all edges of the wig are flat and secure. If you notice any gaps or lifting, address them now to prevent issues later. Adjust the wig as needed to ensure it feels comfortable and natural. Remember, a well-secured wig should feel like a part of you, not a separate entity sitting on your head.
Final Touches: Perfecting Your Look
With the wig securely in place, it’s time for the final touches. Check your hairline in different lighting to ensure it looks natural from all angles. If needed, add a bit more concealer or powder to perfect the blend. Style your wig as desired, whether that’s straightening, curling, or simply brushing it out. If your wig is human hair, you can use your regular styling products. For synthetic wigs, use products specifically designed for synthetic fibers. Consider adding accessories like headbands or hair clips to further personalize your look. Take a moment to practice moving your head naturally, ensuring the wig feels secure and comfortable. Finally, step back and admire your handiwork – you’ve successfully installed your lace front wig!
Maintenance and Care: Prolonging the Life of Your Wig
Proper maintenance is key to keeping your lace front wig looking fresh and natural. At the end of each day, gently clean the lace front with an alcohol-free cleanser to remove any built-up oils or dirt. When not wearing the wig, store it on a wig stand to maintain its shape. Wash your wig regularly according to the manufacturer’s instructions, using products designed for wigs. Be gentle when brushing or combing to avoid damaging the fibers. If you use heat styling tools, always use a heat protectant and keep temperatures low to moderate. With proper care, your lace front wig can last for months, providing you with versatile and beautiful hairstyles. Remember to give your natural hair and scalp some breathing time between wears to maintain overall hair health.