Box Braids 101: Beginner’s Step-by-Step Guide
Essential Tools and Materials for Box Braids
Before we dive into the ‘how to do box braids for beginners,’ let’s equip you with the right tools. Having the essential tools and materials on hand will streamline the braiding process and ensure your box braids look professional. Here’s what you need:
- Hair extensions: Pick quality extensions that match your hair texture.
- Rattail comb: For precise parting and sectioning of hair.
- Clips: To help you separate and hold hair sections.
- Fine-tooth comb: To detangle and smooth out each section.
- Hair moisturizer or leave-in conditioner: Keep your natural hair hydrated.
- Edge control or gel: For sleek edges and smoother braiding.
- Scissors: For trimming extensions if necessary.
- Rubber bands or hair ties: To secure the base of each braid.
For beginners, it is also helpful to have a mirror and good lighting. This way, you can clearly see your work as you learn how to do box braids. Also, remember to organize your space so you can easily reach your tools and materials.
Preparing Your Hair for Braiding
Before starting your box braids, good hair preparation is crucial. Here’s a beginner-friendly guide to prep your hair for braiding:
- Wash Your Hair: Start with clean hair. Use a gentle shampoo to remove any buildup.
- Conditioning: Apply a good conditioner. It will make your hair soft and manageable.
- Detangling: After conditioning, gently detangle your hair with a wide-tooth comb. This step prevents snagging while braiding.
- Drying: Allow your hair to dry thoroughly. You can air-dry or use a blow dryer on a cool setting.
- Moisturizing: Before braiding, apply a hair moisturizer or leave-in conditioner. This keeps your hair hydrated underneath the braids.
- Stretching Your Hair: If your hair is very curly, consider lightly stretching it. This can make sectioning and braiding easier.
- Trimming: If you have split ends, trim them. Smooth ends help in creating neat braids.
Remember, taking the time to properly prepare your hair helps in achieving the best possible outcome for your box braids. It minimizes the chances of damage and makes the braiding process smoother. Follow these steps closely on how to do box braids for beginners and you’ll be on the right track for beautiful, long-lasting box braids.
Sectioning Your Hair for Box Braids
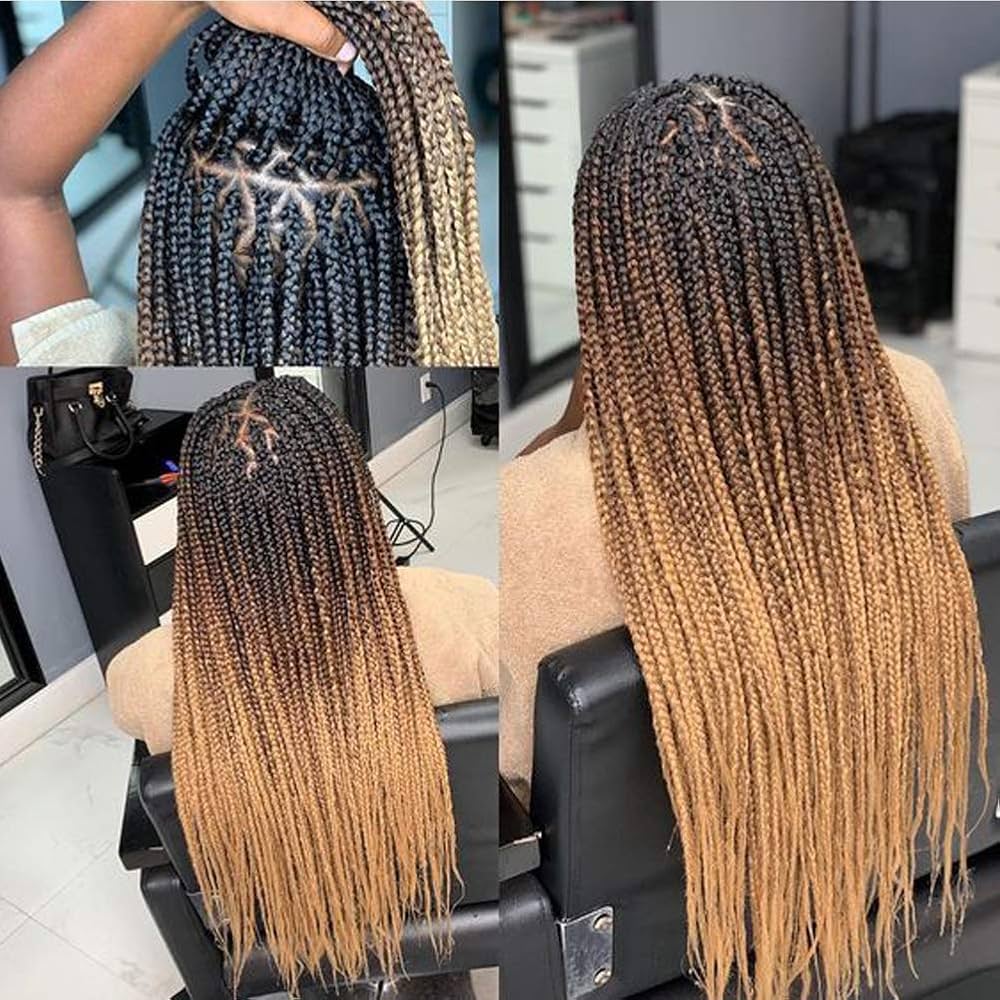
Proper sectioning is key to achieving neat and uniform box braids. Here’s a step-by-step guide to get you started:
- Start at the Base: Begin by parting your hair at the nape of your neck. Aim for a straight line.
- Create Small Squares: Use the rattail comb to create small square sections. Each square will be one braid.
- Ensure Even Parts: Make sure parts are even. This aids in the overall look of the braids.
- Use Clips: As you section your hair, use clips to keep separate parts apart.
- Work From Bottom to Top: Start braiding from the base of your scalp and work upwards.
- Keep Sections Clean: Avoid stray hairs in each section. This helps in keeping braids tight.
Remember, patience is essential when learning how to do box braids for beginners. Take your time with each step to ensure your box braids come out beautifully.
Step-by-Step Process of Braiding
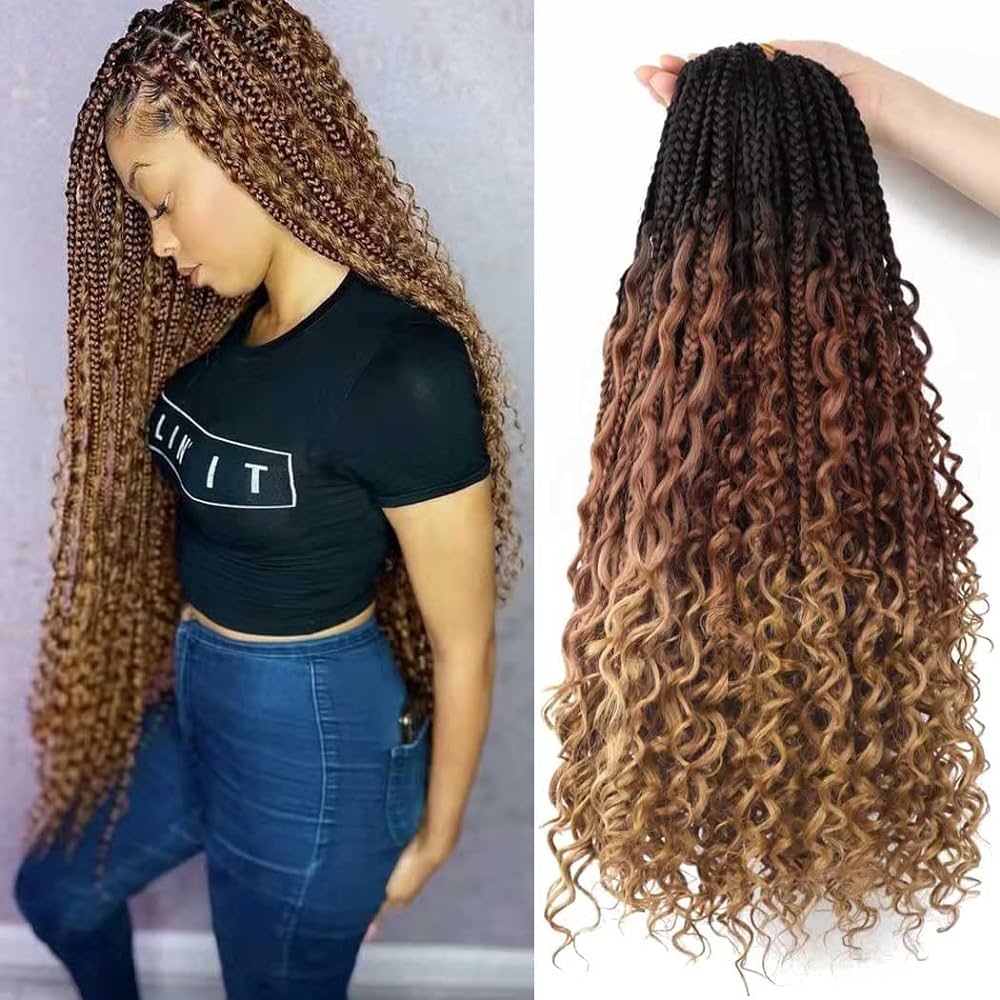
Now that you have your hair prepped and sectioned, it’s time to start the braiding process. Follow these steps to create neat and stylish box braids:
- Begin with a Small Section: Pick a square section to start. Apply edge control or gel to the base for sleekness.
- Divide into Three: Divide the small section of your natural hair into three equal parts. These will form the braid’s foundation.
- Start Braiding: Cross the right strand over the middle, then the left strand over the middle, initiating the braid.
- Add the Hair Extension: After a few natural crosses, add the hair extension by folding it into the braid. Make sure it’s secure.
- Continue Braiding: Keep braiding down the length of the hair. Ensure each cross is tight to maintain neatness.
- Seal the Ends: Once you reach the end, you can dip the ends in hot water or seal with a lighter, if appropriate.
- Repeat: Move to the next section and repeat the braiding process until all sections are done.
While learning how to do box braids for beginners, remember to take breaks if needed. This can be a time-consuming process, and it’s important to stay comfortable. Keep your motions consistent to maintain tightness and uniformity throughout all braids.
Tips for Maintaining Tightness and Uniformity
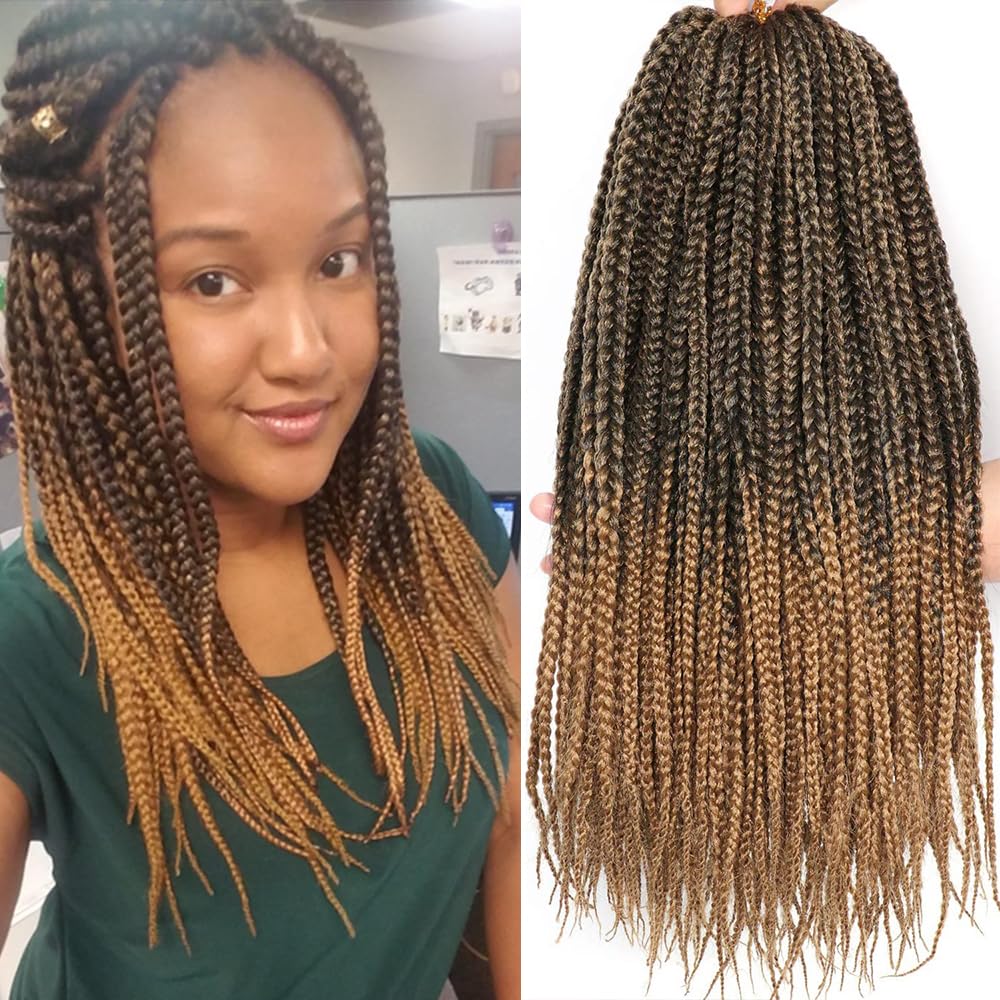
Achieving a consistent look with your box braids involves attention to detail and technique. Here are key tips to ensure tightness and uniformity in your braids:
- Maintain Steady Tension: Keep the tension consistent when braiding. This prevents loose braids and ensures uniformity.
- Check the Foundation: Regularly check that the three parts of your hair sections are even before continuing to braid.
- Consistent Extension Placement: When adding hair extensions, place them evenly in each braid to maintain the same thickness throughout.
- Smooth as You Go: Use a fine-tooth comb to smooth each section as you braid. This avoids bumps and keeps the braid tight.
- Practice Symmetry: Ensure that each braid is similar in size. Use the same amount of hair in each section.
- Secure the Ends Properly: Use a method that works best for the texture of the hair, like dipping in hot water or with elastic bands, to prevent unraveling.
Remember, patience is your best friend when learning how to do box braids for beginners. Over time, your speed and skill will improve, leading to beautiful, tight, and uniform box braids every time.
Aftercare and Maintenance of Box Braids
Once you have successfully installed your box braids, proper aftercare and maintenance are vital. They keep your braids looking fresh and extend their lifespan. Here’s how to keep your box braids in top shape:
- Moisturize Your Scalp: Your scalp can get dry under braids. Use a light oil or spray to keep it hydrated.
- Wrap Your Hair at Night: Use a silk or satin scarf to wrap your head. This preserves the braids and prevents frizz.
- Wash Gently: Clean your scalp using a diluted shampoo. Apply gently and rinse without rough movements.
- Dry Thoroughly: After washing, ensure your braids are fully dried. A hooded dryer can make this easier.
- Avoid Heavy Products: Heavy creams and butters can cause buildup. Stick to lightweight products instead.
- Protect From Sun and Water: Wear a hat in strong sunlight and a swim cap when swimming to protect your braids.
By following these simple practices on how to do box braids for beginners, your box braids will stay neat and last longer. Avoid neglecting these aftercare steps to prevent any damage to your natural hair. Keep a consistent care routine for the best results.
Common Mistakes and How to Avoid Them
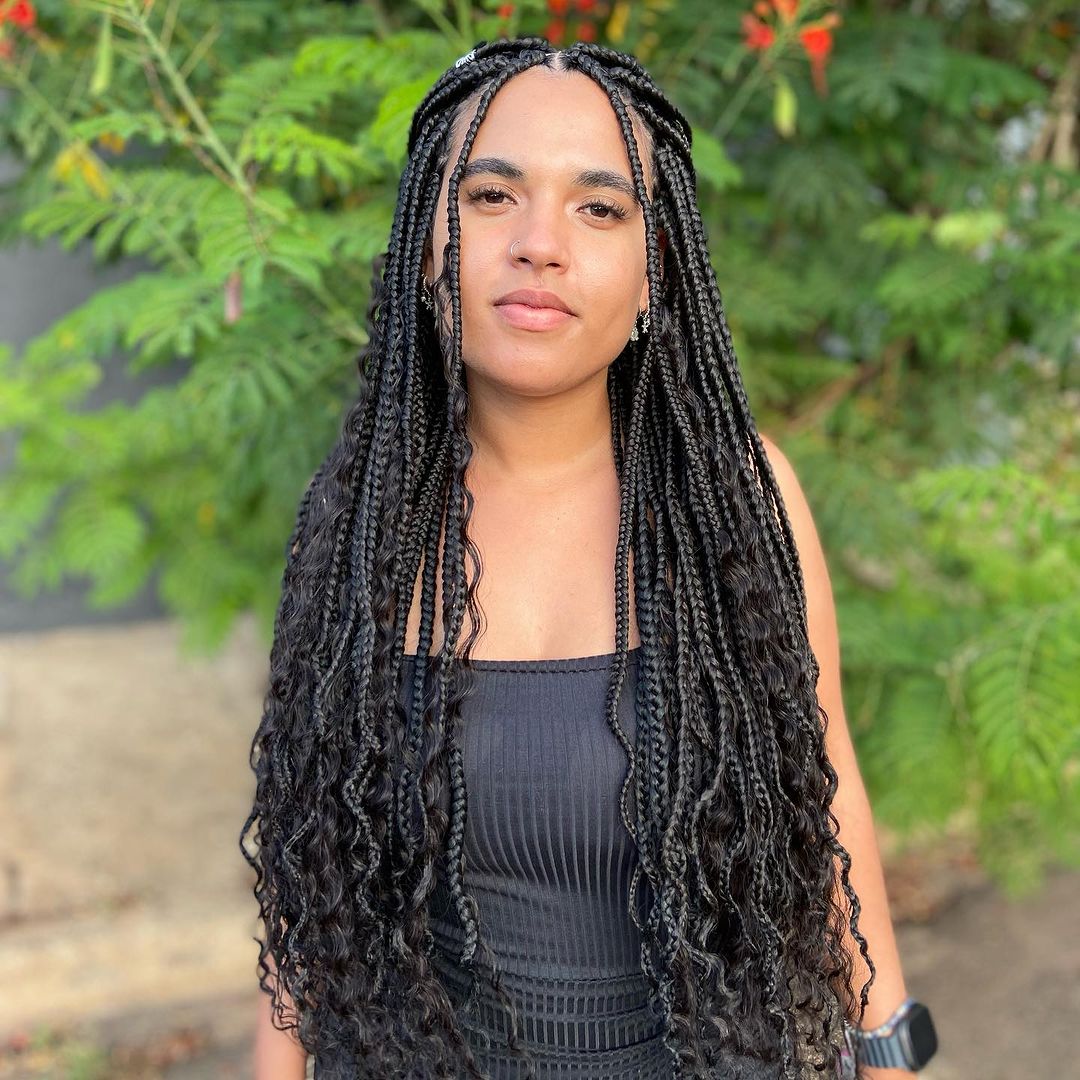
Mastering how to do box braids for beginners comes with its own set of challenges. To ensure your braiding efforts aren’t in vain, watch out for these common mistakes and learn how to prevent them:
- Selecting the Wrong Hair Extensions: Match extensions to your hair texture. Using the wrong type can make braids look unnatural.
- Tight Braids at the Scalp: Braiding too tightly can cause tension and damage. Keep a comfortable tension to avoid headaches and hair breakage.
- Inconsistent Section Sizes: Uneven sections can lead to braids of different thicknesses. Use a rattail comb for even parting and maintain symmetry.
- Neglecting Hair Hydration: Dry hair under braids leads to breakage. Keep your natural hair and scalp moisturized.
- Not Sealing Ends Properly: Unsealed braid ends may unravel quickly. Use hot water or a lighter to seal them properly.
Always take your time while learning how to do box braids for beginners, as rushing can lead to mistakes. Additionally, practice makes perfect. The more you braid, the better you’ll become at avoiding these common pitfalls.
When to Remove and How to Take Down Box Braids Safely
Knowing when to remove box braids is as important as installing them correctly. Ideally, box braids can last between 4 to 6 weeks. But, listen to your hair. If you notice frizz, buildup, or discomfort, it might be time to take them down. Don’t let your braids become a breeding ground for damage. It’s essential to remove them safely to preserve the health of your natural hair.
Here’s how to do it:
- Loosen Up: Start by applying an oil or a conditioner to your braids. This will help to ease the process and minimize breakage.
- Unravel Gently: Begin at the ends of your braids and work your way up. Take your time and be gentle to avoid any stress on your natural hair.
- Use Tools if Necessary: Employ a rat-tail comb or hair pick to help with knots and tangles. But be cautious to not tear through knots.
- Wash After Removal: Once all braids are out, wash your hair with a gentle shampoo. This helps to remove any residue from products or extensions.
- Condition and Detangle: Apply a nourishing conditioner and work through any tangles with a wide-tooth comb gently.
- Moisturize: Finally, treat your hair with a leave-in conditioner or hair oil to restore moisture after the extensive braiding period.
By following these steps on how to do box braids for beginners, you can ensure that taking down your braids is damage-free and your hair remains healthy. Patience is crucial, and taking the time to remove box braids gently is vital for maintaining the integrity of your natural hair.
