Mastering Lace Closure Installation Techniques
Introduction to Lace Closure Installation
Lace closures are a staple in the world of hair extensions. They blend with your natural hair, offering a seamless look. Here, we delve into the art of lace closure installation. This process can be daunting for beginners but fear not. With the right guidance, you can achieve professional results.
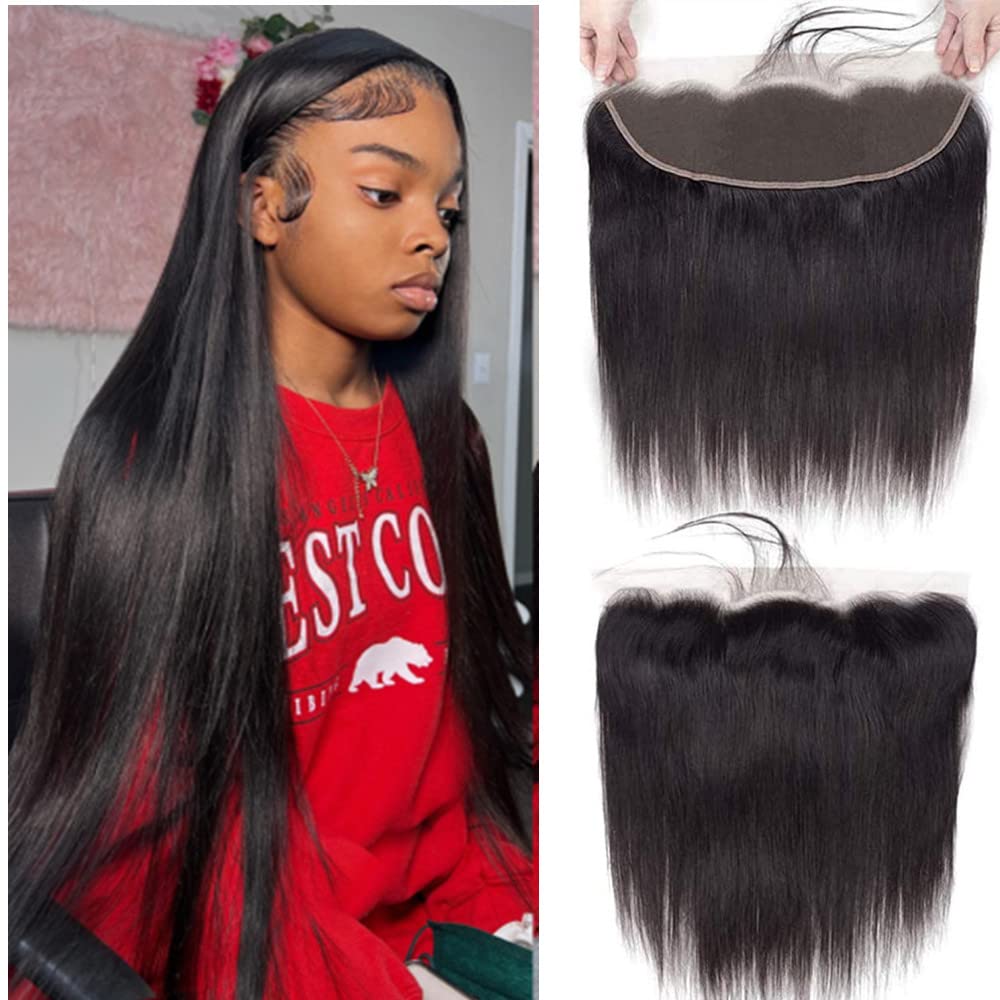
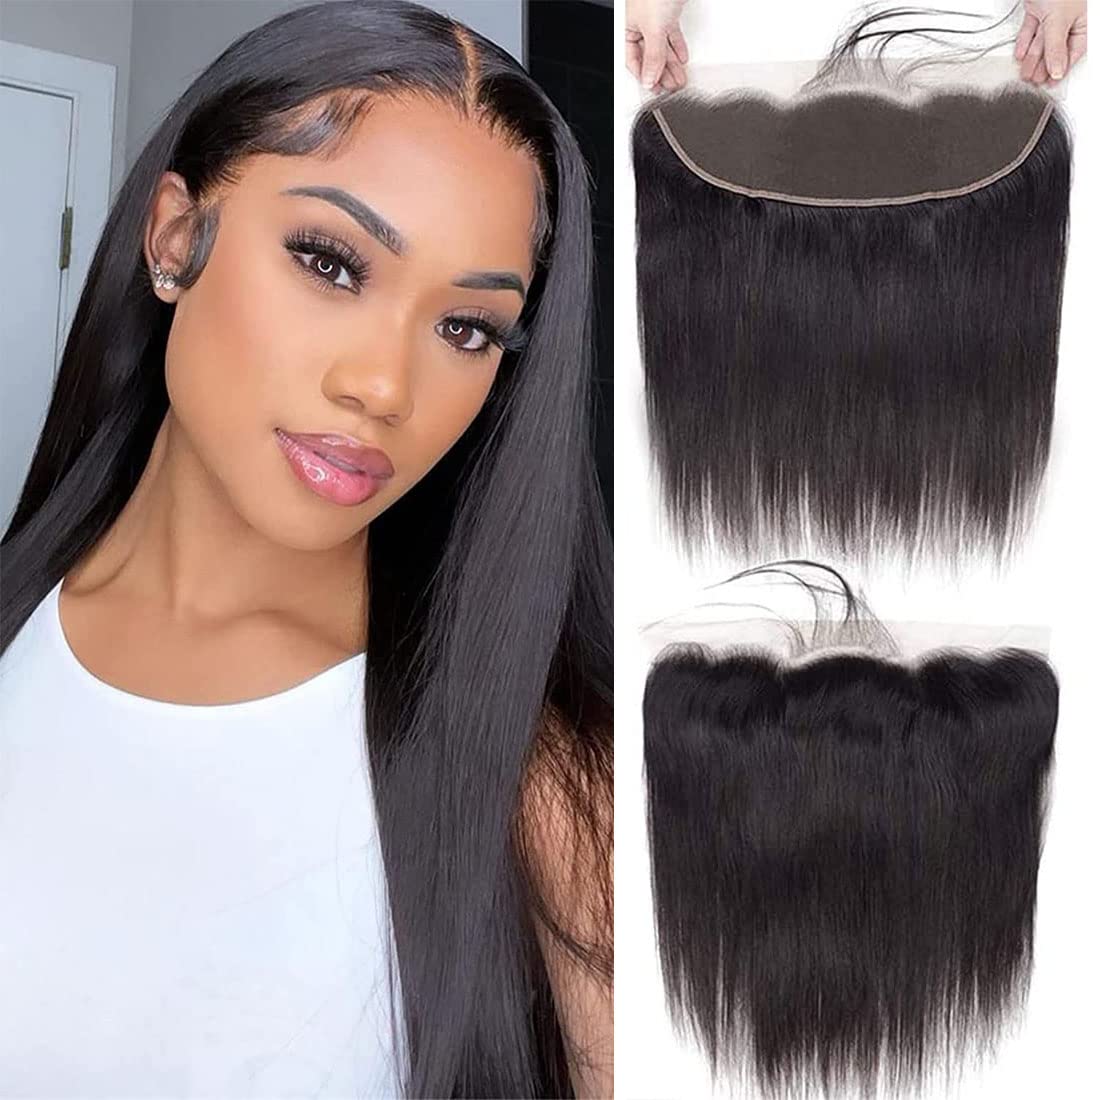
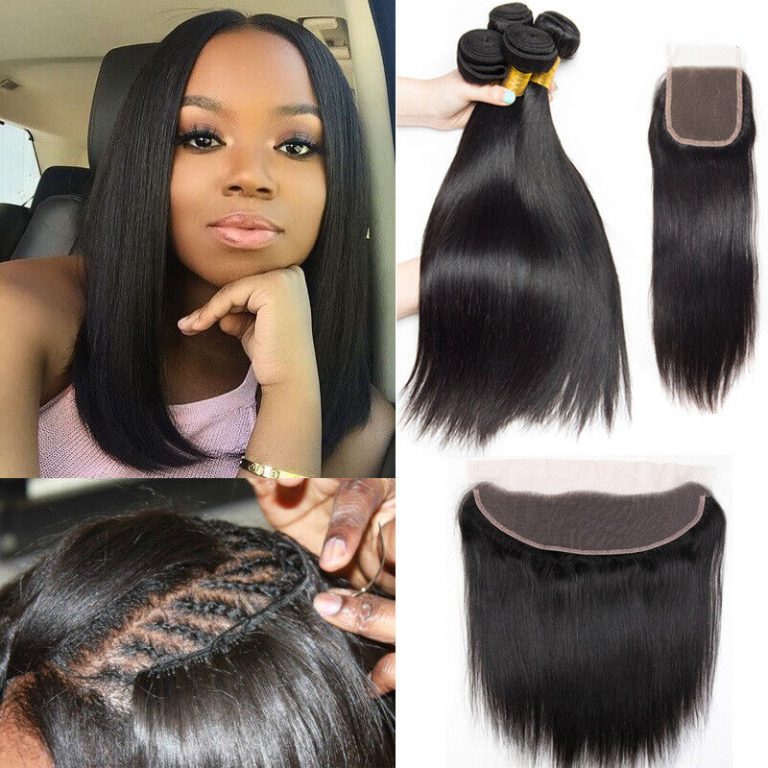
Lace closure installation begins with understanding the closure’s structure. It usually consists of a lace piece with hair strands. These strands simulate a natural hairline and parting. The goal of lace closure installation is to achieve a look that’s as close to your natural hair as possible.
To start, you’ll need some essential tools and a bit of patience. The following chapters will guide you through the necessary steps. We will cover the preparation of your natural hair, the actual installation process, and tips for a natural look. We’ll also go through post-installation care and methods for solving any lace closure issues you might encounter.
In this comprehensive guide, you will learn not just the ‘how-tos’ but also the ‘whys’ behind each step. This knowledge ensures your lace closure fits perfectly and lasts longer. Let’s embark on a journey to flawless hair with a professional touch.

Essential Tools and Materials Needed
Before you begin with your lace closure installation, having the right tools and materials will make the process smoother and more effective. Here’s what you’ll need:
- Lace Closure: Choose the right size and color to match your natural hair.
- Bonding Agent: A good quality glue or tape designed specifically for lace closures.
- Scissors: Sharp scissors for trimming the lace to the desired shape.
- Clips and Hair Ties: To help section and hold your natural hair out of the way during installation.
- Tweezers: For plucking the closure to achieve a natural hairline appearance.
- Brush and Comb: For smoothing and arranging your natural hair and the closure.
- Blow Dryer: Optional, for helping the adhesive set quickly if you’re using glue.
Each of these tools plays a crucial role in ensuring that your lace closure installation is as seamless and natural-looking as possible. Gather these items before you start the process to avoid any interruptions.
Preparing Your Natural Hair for Installation
Before you install the lace closure, it’s important to prepare your natural hair properly. This preparation ensures your natural hair bonds well with the lace closure and helps achieve a flawless finish. Here are the steps you should follow:
- Cleanse Your Hair: Start with a clean base by washing your hair with a gentle shampoo. Clean hair ensures better adhesion of the lace closure.
- Condition and Moisturize: Apply a hydrating conditioner. Rinse thoroughly. Use a leave-in conditioner to keep your natural hair healthy.
- Dry Your Hair: Allow your hair to air dry. If you’re short on time, use a blow dryer on a low heat setting.
- Comb Through: Gently detangle your hair with a wide-toothed comb to prevent any snags during the installation.
- Flatten Your Hair: Braid or tie your hair in a way that it lays as flat as possible. This could mean cornrows, a low ponytail, or a flat wrap.
- Secure Your Hair: Use hair ties and clips to keep any remaining hair away from the installation area.
- Protect Your Scalp: If you’re using glue, apply a scalp protector to create a barrier between your skin and the adhesive.
Once your natural hair is prepped and flattened, you’re ready to move on to the precise task of installing your lace closure. Proper preparation is crucial to ensure that your lace closure sits well and looks as natural as possible. Follow these steps carefully to set the foundation for a successful installation.

Step-by-Step Lace Closure Installation Guide
Following the right steps is key to a successful lace closure installation. Here’s how to do it:
- Align the Lace Closure: Position the lace closure on your head. Make sure it aligns with your hairline and looks natural.
- Trim the Excess Lace: Carefully trim the extra lace around the closure using the scissors. Do not cut too close to the hairline of the closure.
- Apply the Bonding Agent: Spread the glue or tape evenly along your hairline or the perimeter of the closure. Wait until the glue gets tacky. If you use tape, press it firmly in place.
- Press the Closure onto Your Head: Once the bonding agent is ready, gently press the closure down. Start from the middle and work your way out to avoid air pockets.
- Secure the Closure: Use clips to keep the closure flat against your head while it sets.
- Style Your Edges: If desired, you can stylize the edges of your natural hair to blend with the lace closure.
By following these steps, you will have installed your lace closure neatly and as close to your natural hairline as possible. The seamless blend that you achieve will give you a natural and polished look. Remember, patience is key, and practice makes perfect when mastering lace closure installation techniques.
Tips for Achieving a Natural Look with Lace Closure
Achieving a natural look with your lace closure is essential for it to blend seamlessly with your natural hair. Here are some practical tips to help you accomplish this:
- Choose the Right Color and Texture: Ensure the lace closure matches your natural hair in color and texture. This helps in making the addition undetectable.
- Customize the Hairline: Use tweezers to pluck the hairs along the closure’s hairline. This achieves a more natural and less dense appearance.
- Use the Proper Adhesive: Select an adhesive that is transparent or closely matches your scalp. This prevents visible lines along your hairline.
- Apply Makeup: You can use concealer or foundation on the lace to help it blend better with your skin tone.
- Avoid Over-styling: Keep the styling simple as overdoing it can make your hair look unnatural. Gentle waves or a straightforward part can enhance the natural look.
- Regular Maintenance: Keep both the closure and your natural hair clean and well-maintained. This ensures that they integrate well.
By applying these tips, your lace closure will look as natural as possible and elevate your overall style.

How to Care for and Maintain Your Lace Closure
To keep your lace closure looking fresh and extend its lifespan, proper care and maintenance are crucial. Here’s how you can take care of your lace closure:
- Gentle Washing: Use sulfate-free shampoo to wash your lace closure gently. Avoid harsh rubbing which can cause tangling and damage.
- Deep Conditioning: Regularly condition your lace closure to keep the hair soft and moisturized. Let the conditioner sit for a few minutes before rinsing.
- Air Dry: After washing, pat the lace closure gently with a towel. Then let it air dry fully. Avoid using high heat when drying to prevent damage.
- Detangle Carefully: Use a wide-tooth comb to detangle the closure starting from the tips and working your way up to avoid breakage.
- Avoid Heavy Products: Steer clear of heavy oils and styling creams that can weigh down the hair and cause build-up on the lace.
- Sleep Protection: At night, cover your lace closure with a silk scarf or bonnet to prevent friction and tangling.
- Regular Salon Visits: Consider visiting a professional stylist regularly to ensure the closure is properly maintained and can be adjusted if needed.
By following these tips, your lace closures will remain in great condition, looking as good as new for an extended period of time.
Troubleshooting Common Lace Closure Issues
Even with careful installation, lace closures issues can arise. Here’s how to solve the most common ones:
- Lifting of Lace: If your lace starts lifting, add a bit more adhesive under the edges. Press down gently to secure it.
- Itching or Irritation: This might mean your skin is sensitive to the adhesive. Try hypoallergenic glue or switch to tape.
- Slipping Closure: A closure might slip if not secured well. More clips during installation can prevent this.
- Visible Hairline: Pluck the hairline further to make it thinner and more realistic. Use makeup to blend it.
- Tangled Hair: Use a detangling spray and a wide-tooth comb to handle knots gently.
By addressing these issues promptly, you can maintain your lace closure’s pristine condition and appearance.

Recent Trends and Innovations in Lace Closures Techniques
The world of hair extensions is constantly evolving, leading to new trends and innovations in lace closure techniques. Keeping up with these trends is essential for a natural and modern look. Here are some of the most noteworthy developments in the technique:
- Invisible Knots: Lace closures now feature knots that are much smaller, making them virtually undetectable. This results in an ultra-realistic look.
- HD Lace: High-Definition (HD) lace is a newer type of lace that is thinner and more transparent, blending flawlessly with the scalp and requiring little to no blending.
- Silk-Based Closures: These closures have a layer of silk which mimics the appearance of a natural scalp, offering a realistic parting.
- Clip-in Closures: An innovation for those seeking temporary options, clip-in lace closures provide flexibility and ease of use.
- Glueless Methods: Due to the demand for less damaging options, there are new ways to secure lace closures without adhesive, like using elastic bands or clips.
- Customization Services: Many stylists offer to customize lace closures before installation, tailoring the density and hairline to the client’s natural hair for a seamless match.
- Root Mimicking: A new dyeing technique is used to make the roots of the lace closure’s hair darker, similar to natural hair growth.
By staying informed about these trends and innovations, you can ensure your lace closures installation remains on the cutting edge. Always choose techniques and products that complement your natural hair and meet your lifestyle needs for the best results.

