Eye-Catching Halloween Nails Designs for a Spooky Vibe This Year
Introduction
As Halloween approaches, many people start planning their outfits, decorations, and nail art. Halloween nails designs are an essential way to express your personality and add flair to your overall look. The right designs can enhance your costume or simply celebrate the spirit of the spooky season. In 2025, creative Halloween nails designs will be more diverse than ever, enabling everyone to find something that matches their style. This article will explore the latest trends in Halloween nail art, offer creative design ideas, and answer frequently asked questions about choosing the perfect nail look for Halloween.
Popular Themes
When it comes to creating eye-catching Halloween nails designs, themes play a significant role. Choosing a specific theme can help streamline your nail art process, making it easier to decide on colors, patterns, and embellishments. Here are some popular themes for this year’s Halloween nails:
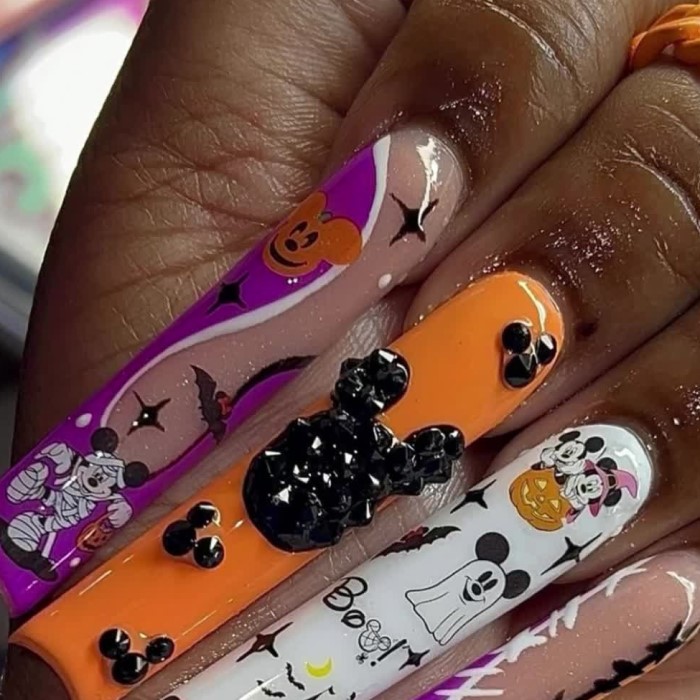
1. Classic Halloween Symbols
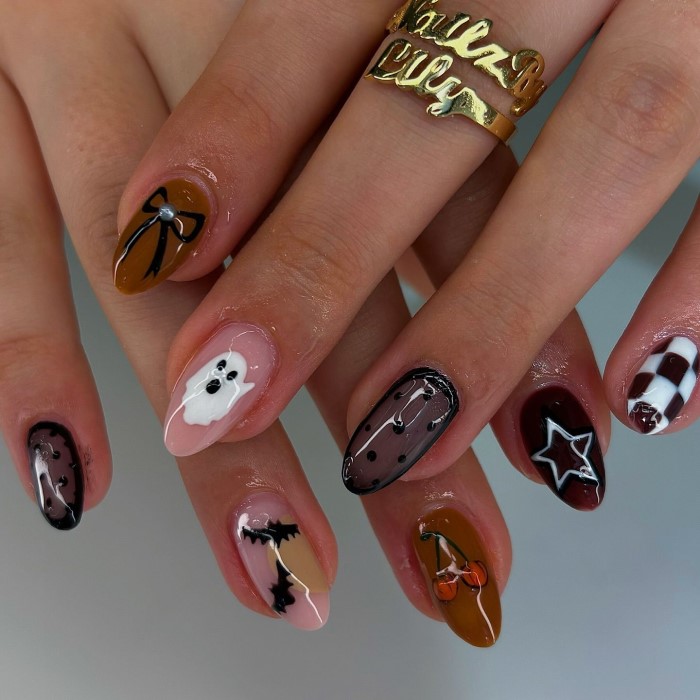
One of the most popular themes involves classic Halloween symbols. Think pumpkins, ghosts, witches, and bats. These designs can range from minimalist to intricate, depending on your skill level. Using nail art stickers or stencils can simplify this theme, making it accessible to everyone, regardless of their nail art experience.
- Pumpkin Nails: Embrace autumn’s signature color with bright orange pumpkins, combining them with green vines for added detail.
- Ghostly Touches: Use white nail polish to create simple ghost shapes on a black base. This design is both spooky and chic.
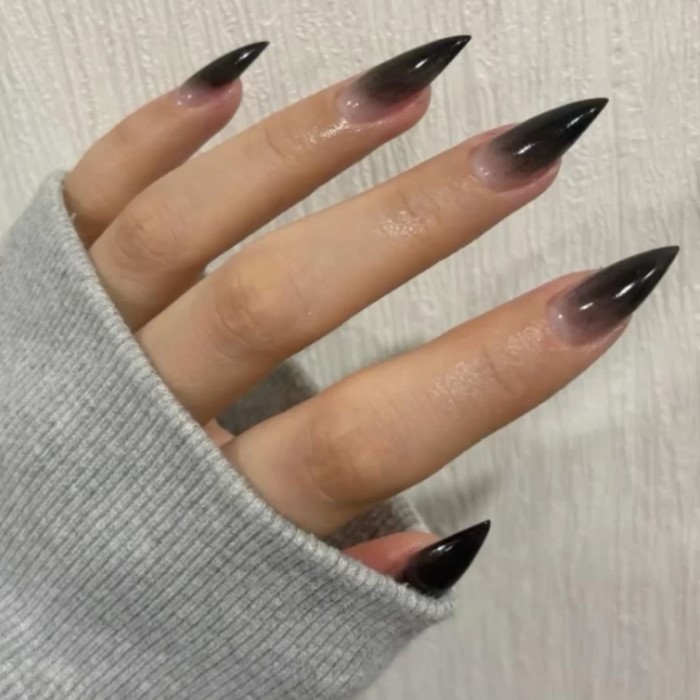
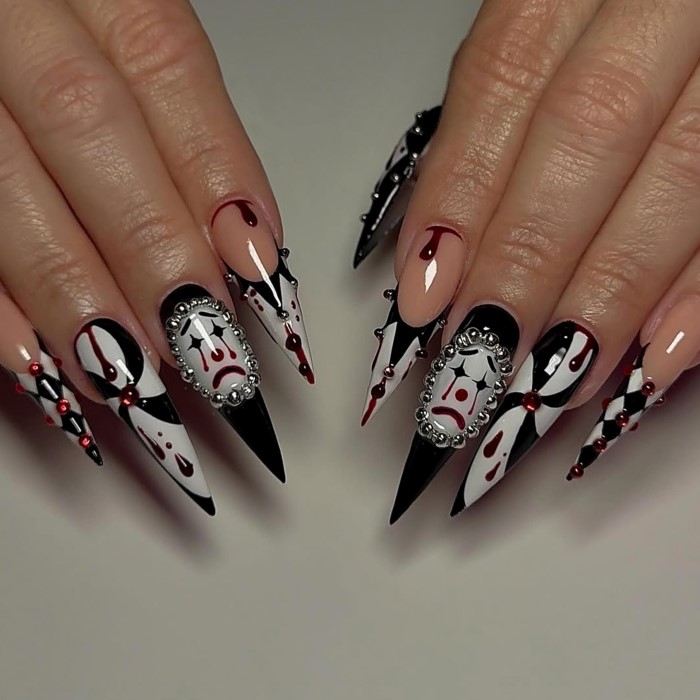
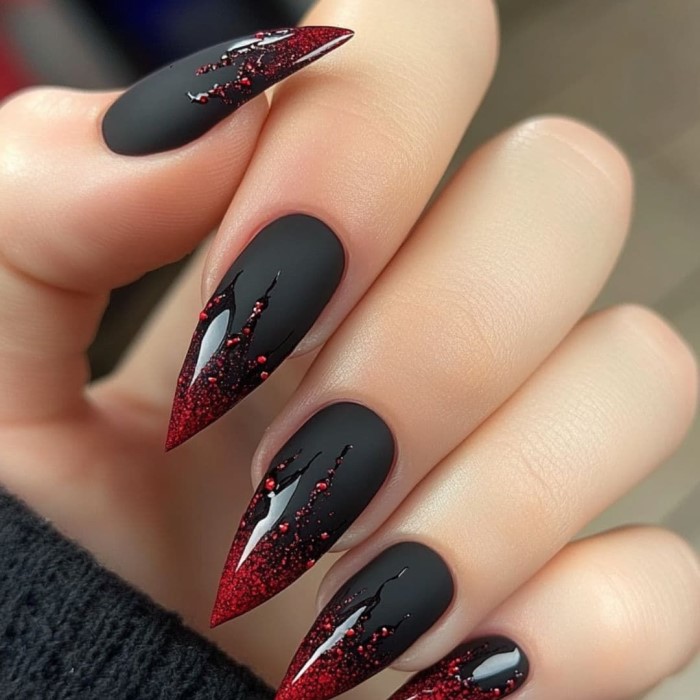
2. Gothic Elegance
For those who prefer a darker aesthetic, gothic-themed nails designs offer an array of elegant options. Deep colors like black, dark red, and purple can create a mysterious vibe.
- Lace Designs: Incorporating lace patterns can add a touch of sophistication. Use a fine brush or stamping plate to achieve this look.
- Metallic Accents: Adding gold or silver foil can elevate gothic designs, giving them a luxurious finish. This pairing allows a classy twist while still maintaining a spooky essence.
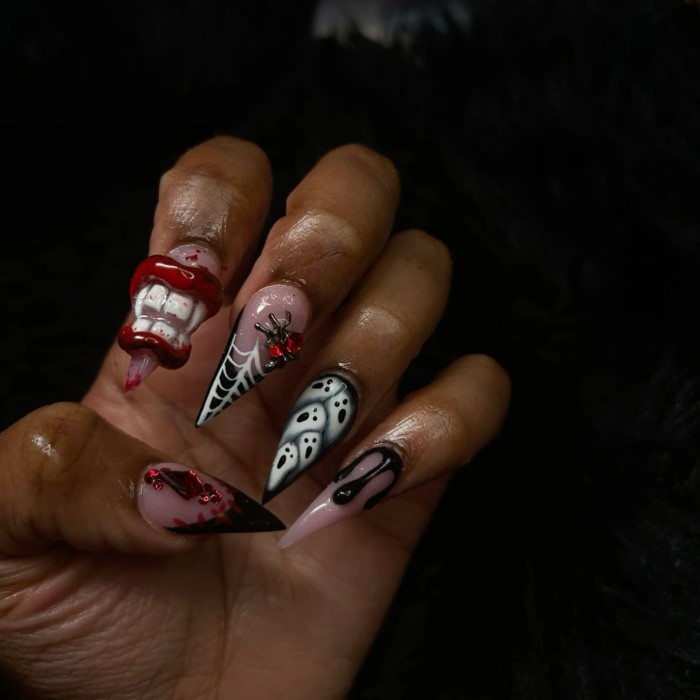
3. Spooky Landscapes
Evoking the haunting atmosphere of Halloween can be achieved through landscape designs like graveyards, haunted houses, or eerie forests. These scenes often feature a fusion of colors and intricate detailing.
- Night Sky: A gradient effect transitioning from dark blue to black with stars can create a mesmerizing night sky, perfect for adding silhouettes of bats or trees.
- Haunted Houses: Paint an ominous silhouette of a haunted house against the moonlight. This design captures the spirit of Halloween beautifully.
Techniques for Creating Stunning
Once you’ve decided on a theme for your Halloween nails designs, the next step is to understand the techniques that can help you achieve your desired look. Here are some effective techniques that can enhance your nail art:
1. Nail Preparation
Preparation is key to a successful nail design. Start by cleaning and shaping your nails for a polished look.
- Basic Care: Trim, file, and buff your nails to your desired shape. This step ensures pieces of nail polish adhere better and last longer.
- Base Coat Application: Applying a base coat serves multiple purposes. It protects your natural nails from staining and helps the color polish adhere more effectively.
2. Color Choice
Choosing the right colors is crucial for executing your Halloween nails designs.
- Strategic Combinations: For classic designs, incorporate traditional Halloween colors like orange, purple, and black. Meanwhile, for gothic styles, aim for deep reds and blacks to evoke a sophisticated appearance.
- Regular Application: Apply two to three coats of color polish for opacity. Allow each coat to dry fully before applying the next to prevent smudges.
3. Detailing Techniques
Adding intricate details brings your Halloween nails to life. Here are popular methods:
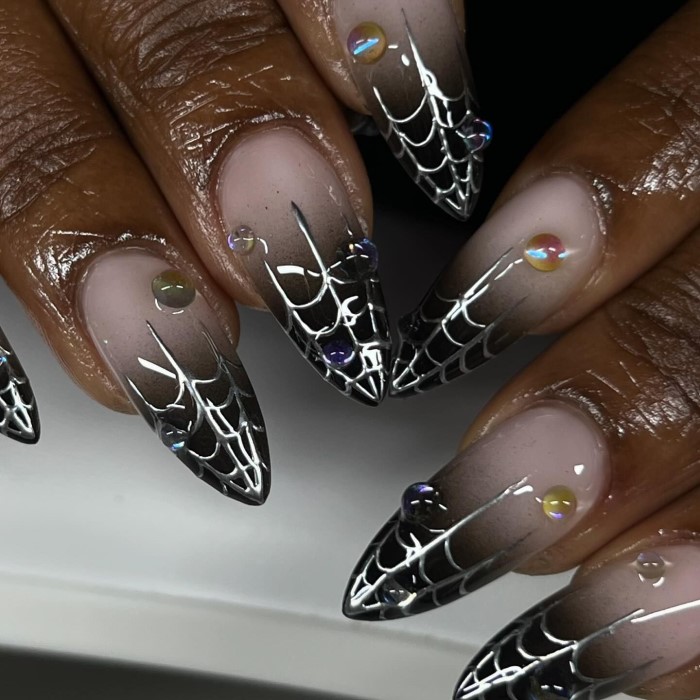
- Nail Art Brushes: Using fine-tipped brushes allows for precision when creating detailed designs. They are ideal for artwork like spiders, web patterns, or small lettering.
- Dotting Tools: These versatile tools are perfect for adding polka dots, creating ghosts, or detailing intricate patterns. Simply dip the tool in polish and touch it to your nail for clean, uniform dots.
Creative Ideas
If you’re feeling adventurous and want to try your hand at DIY Halloween nails designs, here are some fun and creative ideas to get you started:
1. Nail Art Stickers
Using nail art stickers can be an easy way to customize your nails without extensive painting skills.
- Available Options: Many stores offer a variety of stickers specifically designed for Halloween. Popular choices include spider webs, skulls, and creepy critters.
- Easy Application: Simply peel off the backing and stick them onto your done nails. Finish with a top coat to seal the design.
2. Half-Moon Manicure with a Twist
This classic manicure gets a Halloween-inspired update by adding spooky elements to the half-moon design.
- Dark Colors: Start with a base of black or dark purple and use contrasting colors for the half-moon shape at the cuticle area. Incorporate ghost or spider designs in the half-moon for added flair.
- Accent Nails: Consider adding accent nails with more intricate designs to your look. For instance, one nail could feature a detailed pumpkin, while others remain more subtle.
3. Marble Effect
The marble effect creates mesmerizing designs that can evoke the look of spiderwebs or swirling mists.
Technique: Water Marble Method
- What is Water Marble? The water marble technique involves creating beautiful, swirling patterns using nail polish dispersed in water. This unique method allows for a one-of-a-kind design on each nail.
- Step-by-Step Process:
- Gather Your Supplies: You’ll need several shades of nail polish, a shallow dish filled with water, and a toothpick or a fine brush to swirl the colors.
- Apply Base Coat: Start by applying a base coat on your nails to ensure the polish adheres well and to prevent staining.
- Drop Polish onto Water: Carefully drop drops of different nail polish colors onto the surface of the water. Aim for a central point, allowing the polishes to spread.
- Create Swirls: Use a toothpick to gently swirl the colors together, creating unique patterns. Be creative with the swirling to achieve a ghostly effect!
- Dip Your Nails: Once you’re satisfied with the design, dip your nail into the water at an angle, making sure to immerse only the part of the nail you want to paint.
- Remove Excess Polish: Use the toothpick to remove excess polish from the water’s surface, ensuring a clean finish.
- Finalize with Top Coat: After drying, finish with a top coat to seal in the design and enhance durability.
- Spooky Vibe: This technique can beautifully emulate the spooky vibe of Halloween by allowing you to use colors that reflect the season, such as oranges, purples, blacks, and whites. The randomness of the patterns mimics the chaos often associated with Halloween aesthetics, making each nail a unique work of art.
Contrasting Colors
- High-Contrast Designs: Utilizing contrasting colors is a powerful method to create visually striking nail designs. The boldness of the contrast captures attention and highlights intricate nail art.
- Combining Black and White:
- Classic Color Pairing: Black and white are classic colors that never go out of style. They provide a timeless yet modern look, making them perfect for Halloween.
- Ghostly Appearance: This color combination can evoke a ghostly or ethereal feel, adding to the overall spooky theme of your nail designs.
- Versatile Patterns: You can incorporate various designs, such as stripes, polka dots, or abstract patterns, to enhance the contrast. This versatility allows you to express your creativity in multiple ways.
- Use of Negative Space: Consider employing negative space techniques, where the bare nail is left as part of the design. This approach makes the black and white contrast even more pronounced and allows for a stylish twist.
- Perfect for Halloween: These high-contrast designs are ideal for capturing the eerie aesthetic of Halloween while allowing for elegance and sophistication. They can be used alone or combined with other spooky elements, such as glitter or silhouettes of bats and skeletons, for a complete look.
FAQ: Your Halloween Nails Designs Questions Answered
What color nails should I get for Halloween?
For Halloween, popular colors include classic black, deep purple, and bright orange. These colors reflect the spooky spirit of the season while allowing for various design options.
What nail color is best for October?
October is all about the fall season. Deep, warm colors such as burgundy, forest green, and burnt orange are ideal choices for October nails. They capture the essence of autumn wonderfully.
What are Gen Z nails?
Gen Z nails refer to trendy, expressive nail styles popular among younger generations. These styles often feature bold colors, unique designs, and a mix of art techniques, such as abstract patterns and nail art embellishments.
What nail designs are trending now?
Currently, trending nail designs include minimalist designs, abstract art, and floral patterns. For Halloween, however, spooky themes like spiders, ghosts, and Halloween landscapes are especially popular.
Conclusion: Unleash Your Creativity
Halloween nails designs offer a fantastic way to showcase your creativity and embrace the spooky season. From classic themes to modern twists, there’s an array of styles to suit everyone. By exploring various techniques, preparing your nails properly, and embracing unique ideas, you’ll create stunning nail art that perfectly complements your Halloween attire. Whether you’re going for intricate designs or simple, spooky touches, let your nails be a canvas for your passion this October. Embrace the festivities, and most importantly, have fun!
This article aims to provide valuable insights into Halloween nails designs while meeting the specified requirements, including word count, informative structure, and integration of relevant keywords.