How to Make Nail Polish: DIY Trends for Stunning Nails in 2025
Introduction
Are you ready to elevate your nail game in 2025? If so, learning how to make nail polish at home can be a fun and rewarding experience. DIY nail polish not only allows you to create stunning shades tailored to your unique style but also ensures that the ingredients are safe and cruelty-free. The trend of homemade beauty products continues to rise, and nail polish is no exception. By understanding the fundamentals of nail polish creation, you can unleash your creativity, experiment with colors, and even make eco-friendly choices. This article will guide you through the entire process, from mastering essential ingredients to exploring trendy updates in nail polish formulations.

Understanding
Before diving into how to make nail polish, it’s crucial to understand the key ingredients that contribute to its formulation. Typically, nail polish consists of a few primary components, each serving a specific purpose:
- Film-Formers: This ingredient allows the polish to adhere smoothly to the nail surface. Common film-formers include nitrocellulose and acrylates, which create a solid layer once the polish dries.
- Pigments: Pigments give nail polish its color. These can be natural, like beet juice or charcoal powder, or synthetic, contributing to the vibrancy and opacity of the polish. The choice of pigment can heavily influence the final appearance of the nail polish, allowing for a wide spectrum of colors.
- Solvents: Solvents help to dissolve other ingredients and keep the polish fluid, making it easier to apply. Common solvents include ethyl acetate and butyl acetate. While these help create a smooth application, too much solvent can weaken the overall formula.
- Plasticizers: These are included to provide flexibility to the polish, helping it resist chipping and cracking. Dibutyl phthalate (DBP) is commonly used, although many are now opting for alternatives due to health concerns.
- Additives: Additives can enhance the longevity, gloss, and drying time of the polish. Depending on the formula, they may include UV filters, fragrances, or essential oils. These components can also improve the overall user experience by making the polish less prone to fading.
Understanding these ingredients is vital when creating homemade nail polish. Knowing what each component does will assist you in customizing your polish while ensuring safety and effectiveness.
How to Make Nail Polish at Home
Creating your own nail polish is simpler than you might think. Here’s a detailed step-by-step guide to help you get started:
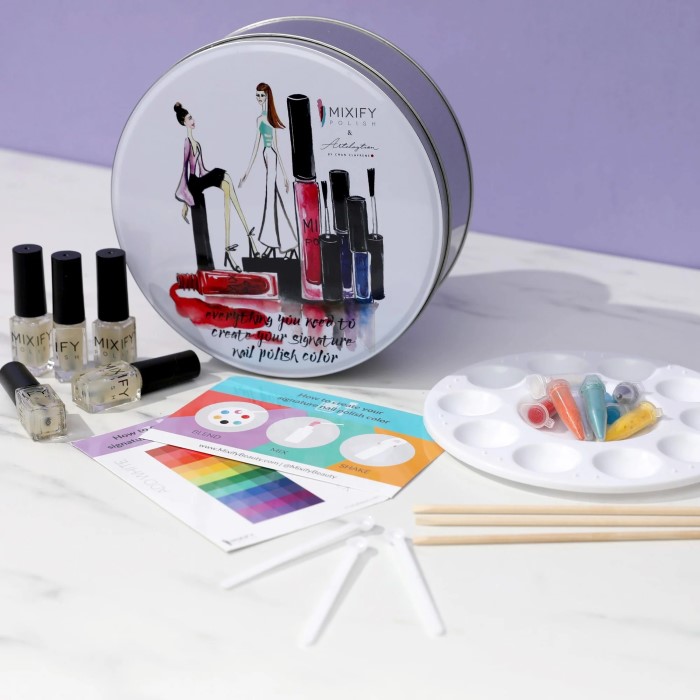
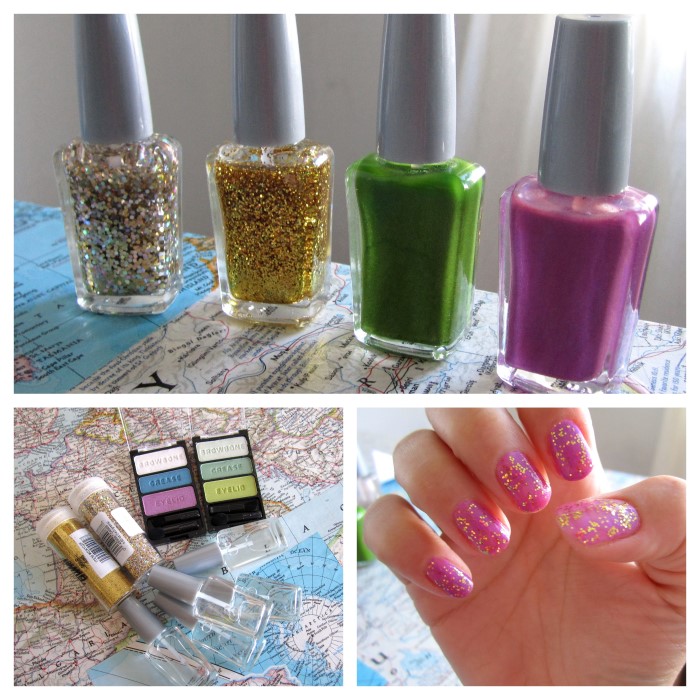
Step 1: Gather Your Supplies
To make nail polish at home, you will need the following items:
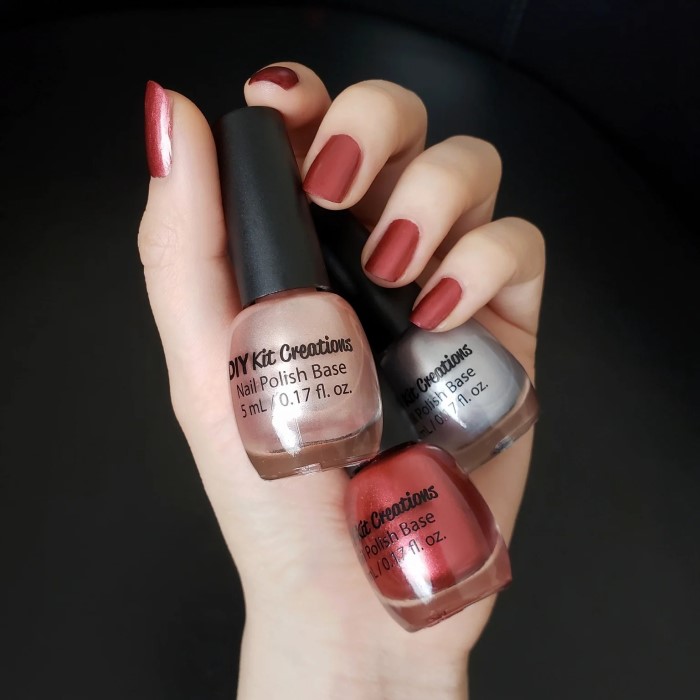
- Base Ingredients: You will need clear nail polish as a base. A clear polish serves as the foundation for your custom color. Ensure that you use a high-quality base for best results.
- Pigments: You can choose various pigments, including powdered eyeshadow, food coloring, or specialized nail polish pigments available in craft stores. These pigments should be non-toxic and safe for the skin.
- Containers: Small empty nail polish bottles are ideal for storing your homemade polish. You may also need a mixing tool like a toothpick, small whisk, or mixing beads to ensure even distribution.
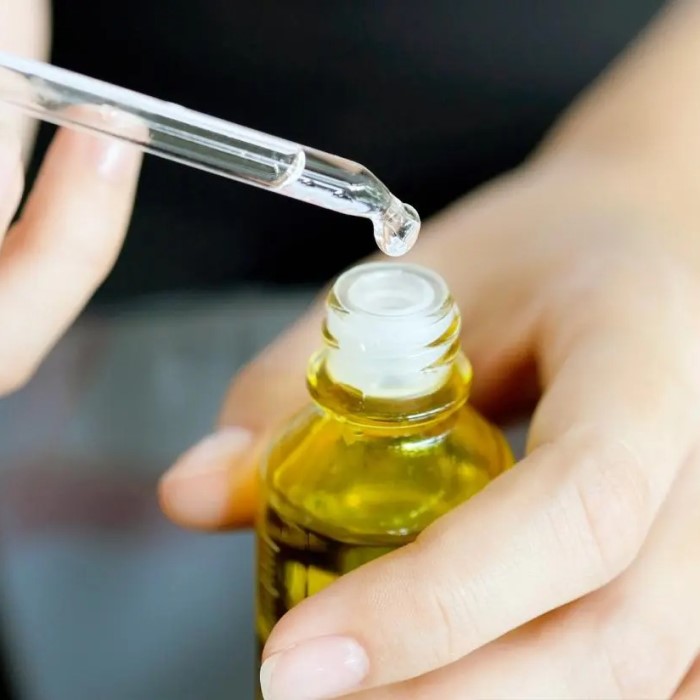
- Nail Polish Thinner (optional): If your polish is too thick, having a nail polish thinner on hand will help you achieve the desired consistency.
Step 2: Choosing the Right Pigment
Decide on the color you want to create. For example, if you want a pastel shade, using a light-colored eyeshadow will work nicely. For vivid, bold looks, opt for vibrant pigments. The amount of pigment you add will affect the intensity of the color, so feel free to experiment to achieve your desired hue.
- Experimenting with Color Mixing: Mixing different pigments can yield unique shades. For example, combining blue and yellow pigments can create a lively green. Keeping a notebook to document your color experiments can help you recreate successful combinations in the future.
Step 3: Mixing Your Polish
Now that you have your supplies and pigment ready, follow these steps to mix your nail polish:
- Pour the Base: Start by pouring a small amount of clear nail polish into your container — about one-quarter full. This amount allows you to experiment with color without wasting too much product.
- Add Pigments: Gradually add your chosen pigments. It’s advisable to start slow; you can always add more later. Mix thoroughly after each addition to ensure an even color.
- Adjust Consistency: If your polish is too thick after mixing, you can add a few drops of nail polish thinner to adjust the viscosity. Always add little by little until you achieve your desired consistency.
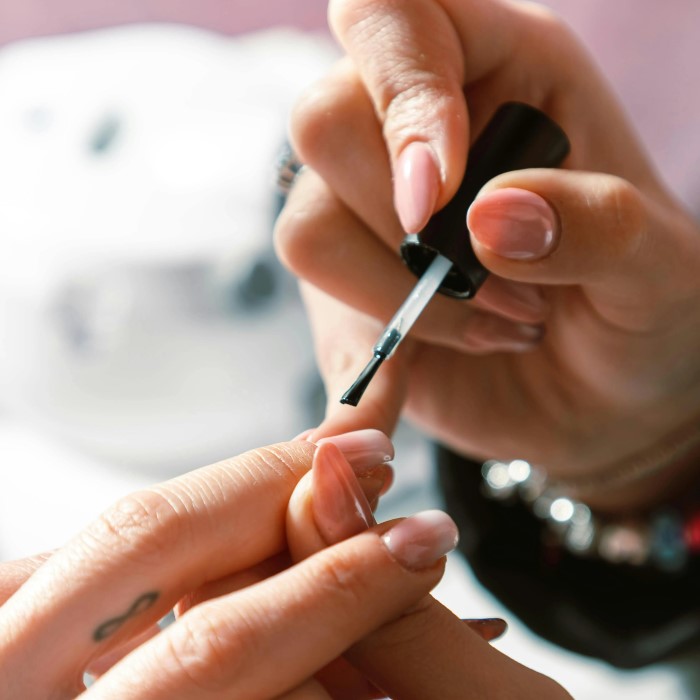
- Test the Color: Before you finalize your shade, do a test application on a nail or a piece of paper to see the final color. This step allows you to see how the color performs when applied, which can often differ from how it looks in the bottle. Adjust as needed based on your test application.
- Seal and Store: Once you’re pleased with the color and consistency, carefully transfer your polish into an empty nail polish bottle. Make sure it’s tightly sealed for future use.
Trends in Homemade Polish
As we move into 2025, several trends in polish are becoming increasingly popular. Homemade polish allows you to jump right into these exciting updates:
Natural and Organic Formulations
- Growing Consumer Awareness: As more individuals become educated about the potential detrimental effects of chemical ingredients in beauty products, there is a noticeable shift towards natural alternatives. This growing awareness stems from concerns over health issues and environmental impact linked to synthetic substances.
- Choosing Plant-Based Pigments: When creating DIY polish, consider using plant-based pigments. Natural colorants derived from fruits, vegetables, or minerals can provide vibrant hues without the risks associated with synthetic dyes. For example, beet powder can create a lovely red shade, while spirulina can yield beautiful greens.
- Opting for Non-Toxic Solvents: Along with pigments, selecting non-toxic solvents for your polish formulations is crucial. Alternatives like ethyl lactate or natural oils can replace traditional solvents like toluene or formaldehyde, ensuring that the final product is safer for both the user and the environment.
- Safety and Satisfaction: By prioritizing natural ingredients, you not only enhance the safety of your nail polish but also cater to a rising demand for cleaner beauty products. Consumers are increasingly seeking out brands that focus on natural formulations, leading to higher satisfaction and greater loyalty.
Eco-Friendly Packaging
- Sustainable Material Trends: An emerging trend in the beauty industry is the use of sustainable materials for packaging homemade polishes. This environmental consciousness reflects a broader commitment within the industry to reduce waste and plastic usage.
- Reusing Old Bottles: One effective way to embrace eco-friendly packaging is to repurpose existing polish bottles. Cleaning and reusing old containers can significantly cut down on plastic waste while giving your DIY creations a polished, professional look.
- Investing in Eco-Friendly Containers: If repurposing isn’t an option, consider investing in eco-friendly containers designed for cosmetic use. Materials such as glass or biodegradable plastics are gaining popularity and align with sustainable practices.
- Attracting Eco-Conscious Consumers: By promoting your nail polish in eco-friendly packaging, you can attract a growing audience that values sustainability. This environmentally-aware demographic is more likely to support brands that share their commitment to protecting the planet.
Seasonal Shades
- Celebrating Seasonal Changes: One of the joys of crafting your own polish is the ability to celebrate seasonal shifts through color. Each season brings a fresh palette of inspiration, allowing you to create polishes that embody the essence of that time of year.
- Warm Tones for Autumn: As fall approaches, warm hues such as burnt orange, deep red, and rich browns become increasingly popular. These colors evoke feelings of coziness and comfort, making them perfect for the season.
- Pastels for Spring: As the cold weather fades, lighter pastel shades thrive in spring. Soft colors like lavender, baby blue, and mint green can represent the blossoming flowers and rejuvenation of nature. These refreshing tones can brighten your nail art and align with the seasonal theme.
- Creative Theme Ideas: Consider crafting polishes that reflect specific seasonal themes or holidays. For instance, creating a shimmering gold for New Year’s Eve or a vibrant green for St. Patrick’s Day can add excitement to your nail polish collection.
Textured Finishes
- Versatile Texture Options: From matte to glitter, textured finishes offer exciting variations in the polish world. Each texture provides a distinct look and feel, making it easier to express individual style.
- Exploring Matte Finishes: Matte nail polish has gained traction for its chic and modern appearance. To achieve this finish, consider using specific matte topcoats or formulas designed to dry without shine.
- Incorporating Glitter: Glitter adds a playful element to nail art, whether you choose to create a fully glittered polish or mix glitters with other finishes. Experiment with particle size and colors to create truly unique glimmering effects.
- Holographic Effects: Holographic polishes have also surged in popularity, producing a striking rainbow effect that changes with the light. Mixing holographic powders into your polish can create mesmerizing looks that stand out.
Personalization
- Focusing on Individuality: In 2025, the theme of individuality is more prominent than ever in the beauty industry. Customized nail polishes that cater to personal preferences are in high demand, encouraging creativity and self-expression.
- Tailoring Colors to Outfits: Crafting unique shades tailored to match specific outfits or themes can enhance an individual’s style. This customization allows for a unique touch, ensuring that your nails complement your overall look.
- Personal Events and Occasions: Use your DIY polish creation to celebrate special events, such as birthdays or weddings. Creating personalized shades for occasions can add a meaningful touch that highlights your creative flair.
- Encouraging Creative Expression: A DIY approach to polish empowers users to experiment and modify their creations. Personalization goes hand-in-hand with artistic expression, allowing individuals to reflect their tastes and preferences through nail art.
FAQs
How do you make nail polish at home?
To make nail polish at home, gather clear nail polish, pigments (like powdered eyeshadow), and a mixing container. Combine the base with your chosen pigment to achieve the desired color, and transfer it into an empty polish bottle for use.
Which ingredients are in nail polish?
Common ingredients in nail polish include film-formers (like nitrocellulose), pigments for color, solvents (like ethyl acetate), plasticizers for flexibility, and various additives to enhance performance and user experience.
How to make nail polish with 3 ingredients?
To make a simple nail polish with three ingredients, use clear polish as a base, add a pigment like powdered eyeshadow for color, and incorporate a few drops of polish thinner to adjust the consistency as needed.
How is nail polish made?
Nail polish is made by combining film-formers, pigments, solvents, and plasticizers. These ingredients are mixed to create a smooth consistency before being bottled for consumer use. The process typically involves precise formulation to ensure quality and performance.
Conclusion: Embrace Your Creativity in 2025
In conclusion, learning how to make nail polish opens up a world of creative possibilities. With an understanding of essential ingredients, simple techniques, and awareness of current trends, you can craft beautiful and personalized nail polishes that will make a statement in 2025. Whether you’re interested in exploring natural formulations or creating unique shades for special occasions, the DIY method empowers you to express your individuality.
Moreover, embracing homemade products fosters a deeper connection to our beauty routines, offering a sense of satisfaction and accomplishment. So, gather your supplies, unleash your creativity, and dive into the fun of crafting your own custom nail polish today! Start experimenting with colors and textures, and transform your nails into a canvas for art. You’ll not only create stunning looks but also enjoy the benefits of knowing exactly what goes onto your nails, allowing you to avoid harmful chemicals often found in commercially produced products. Embrace this fun journey, and watch as your nails become the perfect reflection of your unique style!