DIY Solutions: How to Dry Gel Nail Polish Without UV Light
Contents
hide
Introduction to Drying Gel Nail Polish Without UV Light
Gel nail polish is celebrated for its long-lasting finish and glossy appearance. How to dry gel nail polish without uv light? However, drying it can often require a UV lamp, which many people do not have at home. Fortunately, there are effective methods to dry gel nail polish without UV light. In this blog, we will discuss various DIY solutions that allow you to achieve quick and perfect results. By understanding these techniques, you can enjoy beautiful nails without the need for specialized equipment.
What is Gel Nail Polish and How Does It Work?
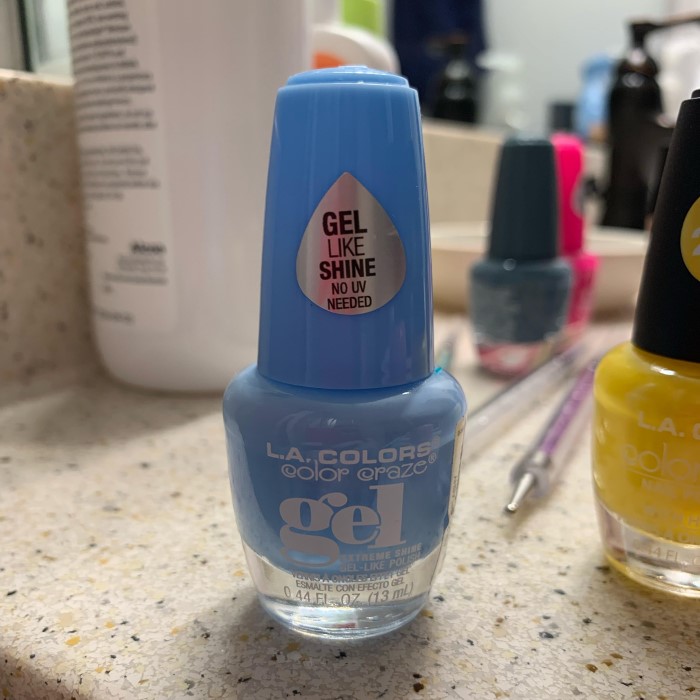
Gel nail polish is a special type of nail polish. It is designed to last longer than traditional nail polish. It gives a shiny and smooth finish that resists chipping. Gel polish requires curing under light to harden properly.
This polish contains ingredients that react to certain wavelengths of light. When exposed to UV or LED light, these ingredients trigger a chemical process. This process hardens the gel and creates the strong, durable finish. Without this reaction, gel polish will remain sticky and not fully cure.
Gel nail polish consists of photoinitiators, polymers, and pigment. Photoinitiators help the polish cure under light. Polymers provide the strength of the cured polish. Pigment gives the nail its vibrant color. All these components work together to give gel polish its unique characteristics.
Unlike regular polish, gel nail polish does not air-dry naturally. It needs curing to set properly. Once cured, it is more resistant to wear and damage. This makes it a popular choice for long-lasting manicures that retain their shine.
Though UV light is commonly used for curing gel nails, alternatives exist to avoid UV exposure. Using LED lamps or exploring other methods make gel polish more versatile. This article will explore those options and how they work effectively to dry gel nails.
Why Avoid UV Light for Curing Gel Nail Polish?
Curing gel nail polish with UV light has been common for many years. However, there are valid concerns about the safety of using UV light for this purpose. Here’s why some people choose to avoid it:
- Skin Damage Risk: UV light emits harmful rays that can damage your skin. Prolonged exposure, even during a short manicure session, can increase the risk of skin aging and sunburn. Frequent use may result in long-term skin problems or hyperpigmentation.
- Potential Cancer Risk: UV radiation is known to contribute to skin cancer. Although the exposure during curing sessions is minimal, repeated and cumulative exposure over time could pose a health risk.
- Eye Damage Risk: UV light can also harm your eyes if proper protective measures are not taken. Direct exposure may lead to discomfort or increase the risk of cataracts.
- Allergic Reactions: Some people may be sensitive to UV light. They could experience redness, itching, or irritation on their skin after UV exposure.
- Children and Sensitive Individuals: UV light is not recommended for children or those with extremely sensitive skin. Increased caution is necessary to protect their delicate skin.
For these reasons, many nail enthusiasts seek alternatives to using UV light. Fortunately, there are safe and effective methods available for curing gel nail polish without UV exposure. LED lamps, fans, and other methods provide great alternatives without compromising your health.
Alternative Methods to Cure Gel Nail Polish Without UV Light
How to dry gel nail polish without uv light? If you prefer to avoid UV light for your gel nails, you have multiple options for curing. These methods not only minimize potential health risks but also give you flexibility. Below are some alternative ways to cure your gel nail polish safely and effectively.
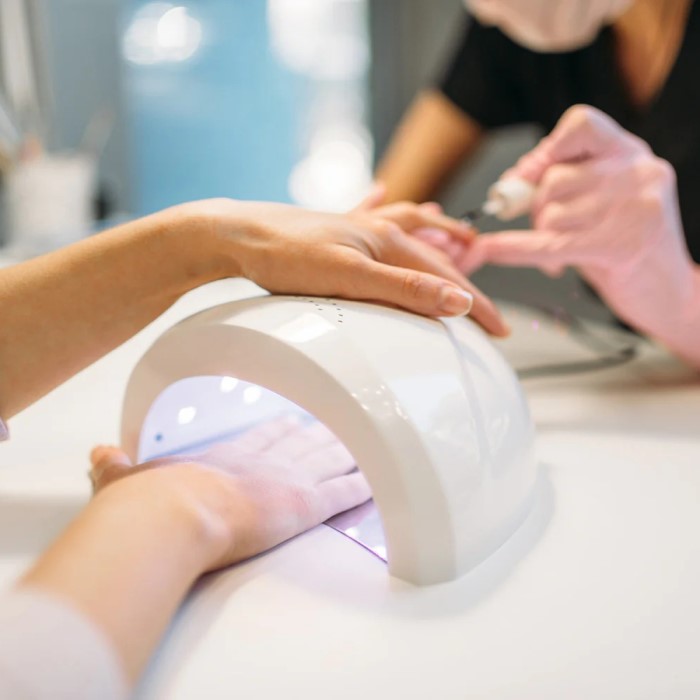
Using LED Lamps to Dry Gel Polish
LED lamps are a popular alternative to UV lamps. They cure gel nail polish effectively but emit less harmful light. They use narrow wavelengths, reducing exposure to UV radiation. LED lamps usually cure gel polish much faster than traditional UV light.
When choosing an LED lamp, ensure it is compatible with your specific gel polish. Some gel polishes require UV light, but many newer formulas work with LEDs. Read the product instructions carefully for the best results.
Air Drying: Is It Effective for Gel Nail Polish?
Air drying is less effective for curing gel nail polish. Gel formulas are designed to be cured with light. Without light, the polish may stay sticky and not harden properly. If you don’t have access to any curing equipment, air drying is an option. However, you may need to be patient as the polish might take several hours to dry, and it may not last as long.
Some brands now offer air-dry gel nail polish, which does not require any light to cure. If you want to try air drying, choose those specific formulations.
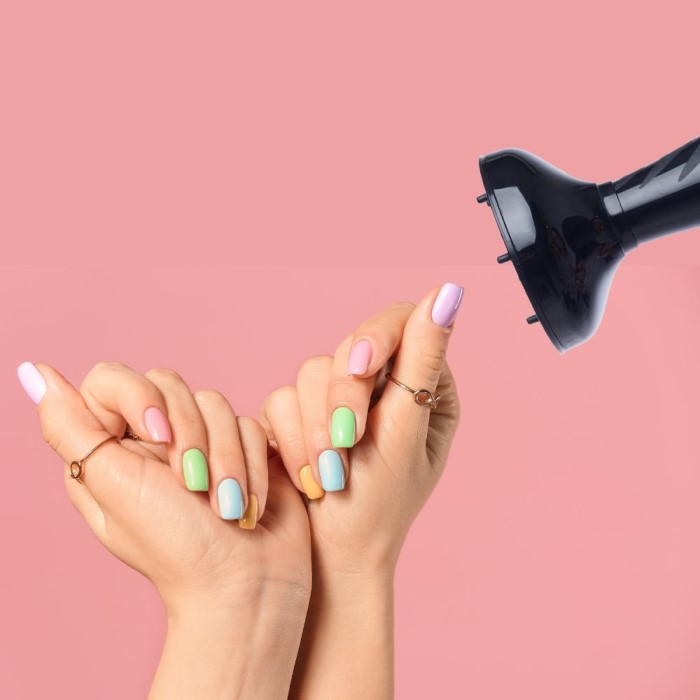
Utilizing a Fan or Hair Dryer for Faster Drying
Fans or hair dryers can speed up the drying process for specific gel nail polish types. Set the fan or hair dryer to its cold or cool setting. Hot air might make the polish stringy or fail to set properly. Hold the fan or dryer a few inches away from your nails to prevent smudging.
While this method can help, it typically won’t provide the strength and durability of cured gel nails. Use it for a temporary solution or when other tools are unavailable.
Ice Bath Method: A Cool Solution
An ice bath can help harden gel nail polish faster. Fill a bowl with cold water and ice cubes. Wait until your applied gel polish is semi-dry to avoid smudging. Immerse your nails into the ice bath for a few minutes. The cold temperature can help solidify the gel.
This method doesn’t replace curing with light but can be useful in emergencies. Be sure to dry your hands gently after removing them from the ice bath.
These alternative methods offer flexibility in drying gel nail polish without UV light. Consider trying them to find the one that best suits your needs. Always check your gel polish instructions for the best results.
Tips to Enhance the Drying Process
How to dry gel nail polish without uv light? Enhancing the drying process for gel nail polish without UV light requires simple steps. By following these tips, you can achieve better results and prolong your manicure’s lifespan. These techniques focus on improving the efficiency of alternative drying methods and ensuring smoother finishes.
Prepare Your Nails Properly
- Start with clean, dry nails to help the polish adhere better.
- Buff the nail surface lightly for a smooth application.
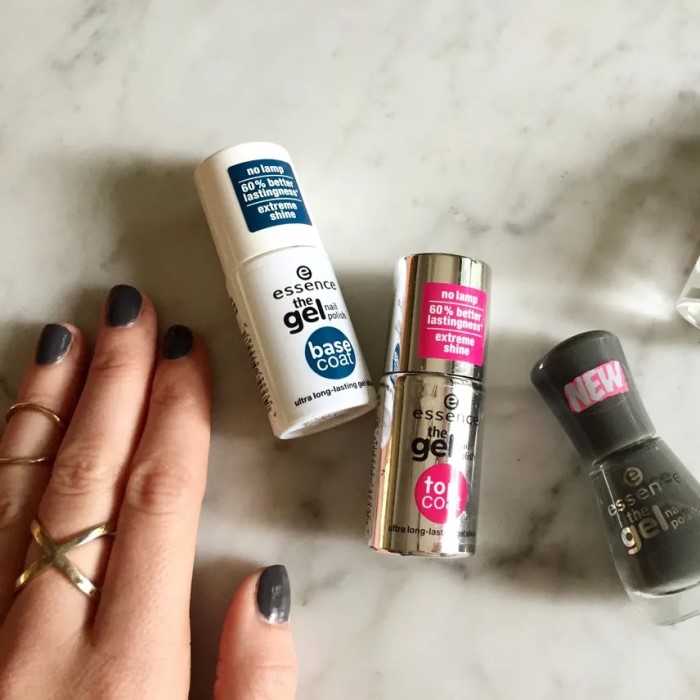
- Use a primer or base coat to enhance the polish bond.
Apply Thin Layers of Gel Polish
- Use thin coats of gel polish for quicker drying.
- Allow each layer to semi-dry before applying the next.
- Avoid thick layers to prevent uneven finishes.
Choose the Right Drying Method for Your Gel Polish
- Match the drying technique to your polish type (e.g., LED-compatible or air-dry formulas).
- Read product directions to identify recommended curing methods.
Keep the Drying Area Cool and Clean
- Maintain a clean environment free from dust.
- Ensure proper airflow while drying with fans or hair dryers.
- Use the cool setting for fans or dryers to help set the polish.
Use Additional Techniques to Speed Up Drying
- Try the ice bath method to hasten the drying for semi-dried polish.
- Consider using quick-dry drops specifically designed for nail polish.
Avoid Touching or Disturbing Nails
- Prevent smudges by avoiding contact with surfaces during the drying process.
- Hold your hands still to allow the curing method to work efficiently.
Maintain Patience for Best Results
- Take your time, especially when air drying or using slower methods.
- Rushing may lead to imperfections or longer drying times overall.
By following these simple yet effective tips, you can improve your gel nail drying process without UV light. These measures will help achieve the best results, ensuring a polished and durable manicure.
Common Mistakes to Avoid When Drying Gel Nails Without UV Light
How to dry gel nail polish without uv light? Drying gel nails without UV light can be tricky. Mistakes can impact the polish’s durability and finish. Avoid these common errors to ensure a flawless manicure:
Applying Thick Layers of Gel Polish
Thick layers dry unevenly and take longer to set. Always apply thin coats for better results.
Ignoring Instructions on Gel Polish Packaging
Different gel polishes have specific drying requirements. Read instructions to use the correct method for curing.
Skipping Nail Preparation
Not cleaning or buffing your nails can affect polish adhesion. Prep nails properly for smooth application.
Rushing the Drying Process
Impatience can lead to smudges and imperfections. Allow sufficient time for each drying step.
Using Hot Air Dryers
Heat can melt or warp gel polish. Use cool air to set the polish properly.
Overexposing Nails in Ice Baths
Leaving nails in ice water for too long can weaken the polish. Limit exposure to a few minutes.
Disturbing Nails Before They Are Fully Dry
Touching or using hands before complete drying can ruin your manicure. Be patient while drying.
Skipping a Quality Base Coat
A poor base coat can affect polish adherence and durability. Use high-quality products for better results.
Neglecting to Maintain Polished Nails
Once dried, don’t skip post-care routines. Protect your nails to ensure longer-lasting results.
By avoiding these common mistakes, you can enjoy polished and flawless gel nails without UV light. Pay attention to the details and handle your nails carefully to get the best outcomes.
Advantages and Disadvantages of Drying Gel Nails Without UV Light
Drying gel nails without UV light offers several benefits and drawbacks. Understanding these can help you decide if alternative methods are right for you.
Advantages of Drying Gel Nails Without UV Light
- Avoidance of UV Exposure: You minimize the risk of skin damage and other potential health issues caused by UV rays.
- Safer for Sensitive Skin: These methods are better for people with sensitive skin or allergies to UV light.
- Cost-Effective Options: Air drying and using household items, like fans or ice baths, can save money.
- Portability and Convenience: You can dry nails anywhere without needing specialized UV equipment.
- Reduced Risk of Aging: Without UV exposure, the risk of premature skin aging is lower.
- Kid-Friendly: These methods are safer for children or those with delicate skin.
Disadvantages of Drying Gel Nails Without UV Light
- Slower Drying Process: Alternative methods usually take more time compared to UV curing.
- Less Durable Results: Non-UV-cured gel polish may not be as durable or long-lasting.
- Inconsistent Drying: You may experience uneven or partial curing using non-UV methods.
- Limited Nail Polish Compatibility: Not all gel polishes are compatible with non-UV drying techniques, like air-dry gel.
- Frequent Touch-Ups Needed: Gel nails dried without UV might chip or peel more easily.
- Additional Tools May Be Necessary: Fans, LED lamps, or ice baths may still be required for effective drying.
- Higher Effort: Non-UV methods often require additional steps to achieve optimal results.
By weighing these pros and cons, you can decide the best method to dry your gel nails. Choose the option that aligns with your priorities and lifestyle to achieve beautiful and safe nails.
How to Remove Gel Nail Polish Without Damaging Your Nails
Removing gel nail polish properly is essential to avoid nail damage. Follow these steps carefully for safe removal:
Gather Your Supplies
- Acetone (nail polish remover with acetone is most effective).
- Cotton balls or pads.
- Aluminum foil.
- Cuticle pusher or orange stick.
- Nail file and buffer.
- Cuticle oil or cream.
- Bowl or soaking tray (optional).
Preparation
- File the Top Layer: Gently buff the shiny topcoat of the gel polish to roughen the surface.
- Protect Your Skin: Apply petroleum jelly around the edges of your nails to protect the skin.
Acetone Method: Soak and Wrap
- Soak Cotton Balls: Saturate the cotton balls or pads with acetone.
- Wrap with Aluminum Foil: Place the cotton on your nails and wrap it securely with aluminum foil. This traps the acetone.
- Wait Patiently: Leave the foil wraps on for 10-15 minutes to allow the acetone to break down the gel.
- Remove Gently: Use a cuticle pusher to softly push off the dissolved polish. Do not force it if it doesn’t slide off easily.
Non-Foil Soaking Method
- Fill a Bowl with Acetone: Pour acetone into a bowl or soaking tray.
- Soak Your Nails: Submerge nails in the acetone for 10-15 minutes.
- Gently Remove Gel Polish: Use an orange stick to scrape off the softened polish.
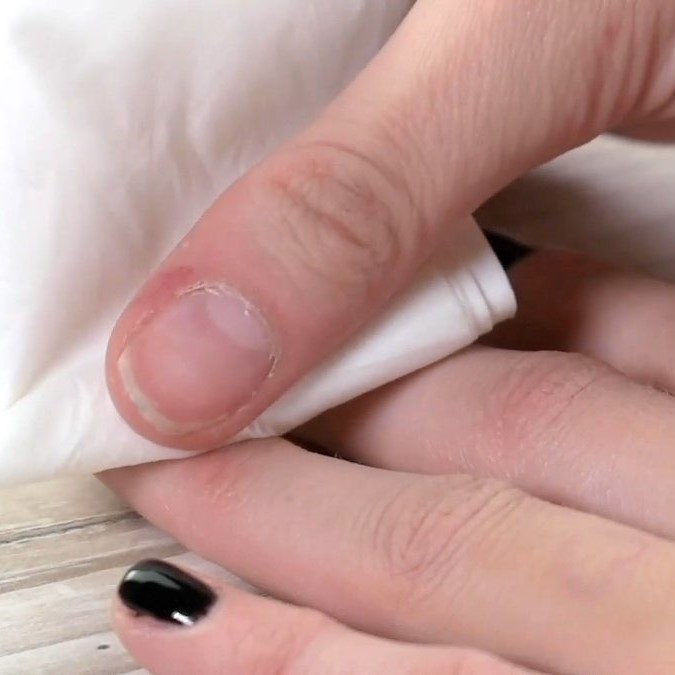
Post-Removal Care
- Buff Your Nails: Smooth out the nail surface gently with a buffer.
- Moisturize: Apply cuticle oil to hydrate and nourish your nails and skin around them.
- Let Nails Breathe: Give your nails a short break before applying new polish.
Tips for a Cleaner Removal Process
- Avoid peeling or picking at the polish to prevent damage.
- Use high-quality acetone to speed up the removal process.
- Work in a well-ventilated area to avoid inhaling chemical fumes.
- Patience is key; rushing could harm your nails.
By following these steps carefully, you can remove gel nail polish without damaging your nails. Prioritizing proper techniques will maintain the health and beauty of your natural nails.
Conclusion: Mastering How to Dry Gel Nail Polish Without UV Light
In conclusion, knowing how to dry gel nail polish without UV light opens up new possibilities for at-home nail care. By employing techniques like ice water dips, fans, and using rapid-drying topcoats, you can achieve beautifully dry nails efficiently. Understanding how gel nails work and the importance of proper techniques can significantly enhance your manicure experience.
With a little patience and practice, you can enjoy a flawless gel manicure at home without investing in traditional UV lamps. Remember to focus on aftercare and maintain your nails for the best results. Embrace these DIY solutions, and confidently show off your stunning gel nails.