How to Enjoy Dermaplaning at Home Without Breaking the Bank
Introduction
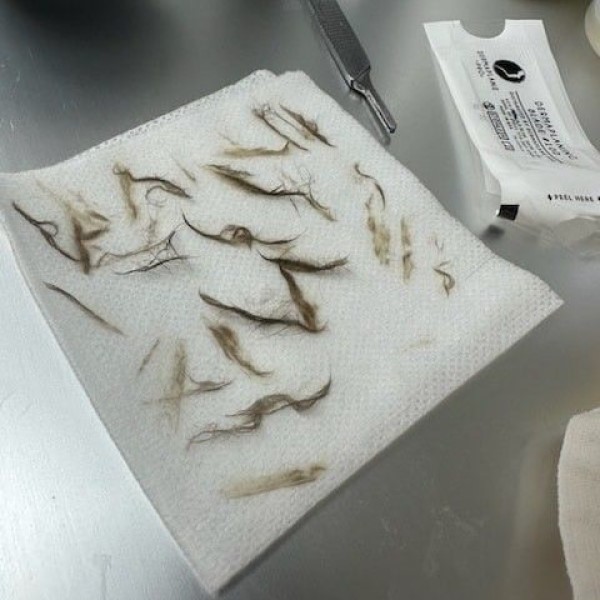
In the pursuit of smooth, glowing skin, many beauty enthusiasts are turning to dermaplaning at home as an effective and budget-friendly alternative to professional treatments. This method involves exfoliating the skin by removing dead skin cells and fine vellus hair (often referred to as “peach fuzz”) with a small surgical scalpel. Not only does this process enhance the texture of the skin, but it also allows for better absorption of skincare products and makeup application. Many people wonder how to dermaplane effectively and safely in the comfort of their own homes. In this article, we provide comprehensive insights on how to enjoy dermaplaning at home without the need for hefty expenses.
The Benefits
1. Cost-Effectiveness
One of the primary advantages of dermaplaning at home is its affordability. Professional treatments can be costly, especially if you opt for recurring sessions. By investing in a quality dermaplaning tool, you can perform the procedure at home multiple times without incurring additional costs.
2. Convenience
Another factor contributing to the popularity of at-home dermaplaning is convenience. You can choose when and where to perform the procedure, allowing it to fit seamlessly into your schedule. This flexibility can significantly enhance your overall skincare routine, making it easier to incorporate regular exfoliation.
3. Improved Skin Texture
Dermaplaning helps in achieving smoother skin by effectively removing dead skin and unwanted hair. This process promotes cell turnover, which can lead to an improved overall texture. Regular dermaplaning can diminish the appearance of fine lines and enhance your skin’s natural glow.
4. Enhanced Product Absorption
Once the surface layer of dead skin is removed, your skincare products can penetrate more deeply. This enhances the overall effectiveness of serums, moisturizers, or treatments you apply post-dermaplaning. As a result, you may notice that your skincare routine becomes more effective.
Necessary Tools
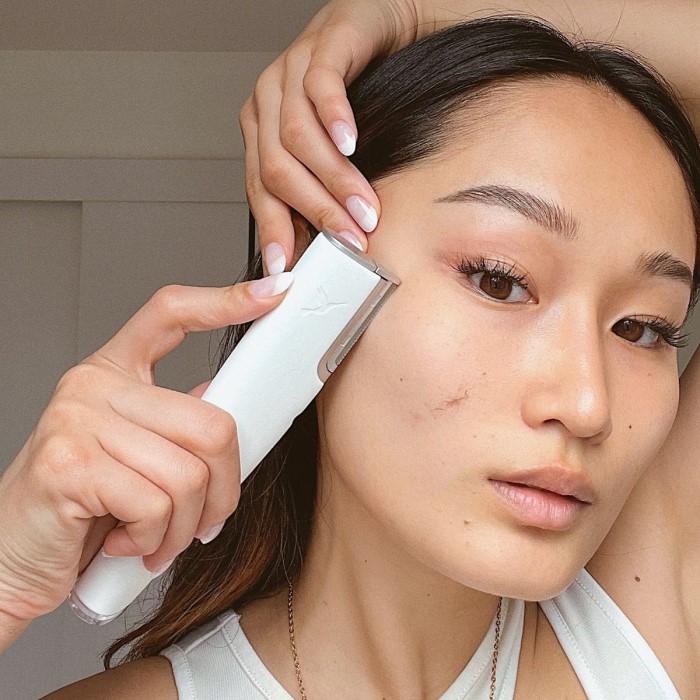
1. Dermaplaning Tool
To get started with dermaplaning at home, you’ll need a high-quality dermaplaning tool. Options include surgical scalpels, specialized dermaplaning devices, or even disposable dermaplaning razors. Choose one that fits comfortably in your hand and ensures precision during the process.
2. Alcohol or Sanitizing Wipes
Cleanliness is crucial when performing dermaplaning. Be sure to sanitize your tool before and after each use to prevent any potential infections or irritations. Using alcohol wipes can effectively eliminate bacteria.
3. Gentle Cleanser
Before starting the dermaplaning process, cleanse your face with a gentle facial cleanser. This step will help remove makeup, dirt, and oils that could interfere with the effectiveness of the process.
4. Moisturizing Cream or Serum
After dermaplaning, your skin may feel slightly dry. Therefore, having a rich moisturizer or hydrating serum on hand is vital for replenishing moisture. Look for products with hyaluronic acid or peptides to maximize hydration.
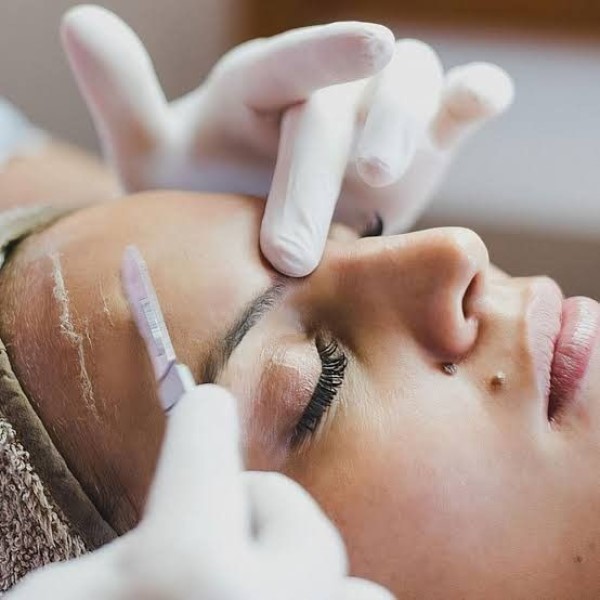
How to Dermaplane at Home: Step-by-Step Guide
Step 1: Prepare Your Skin
Cleanse
- Importance of Cleansing: Before dermaplaning, it’s vital to cleanse your face thoroughly. Cleansing removes dirt, oil, dead skin cells, and makeup that could interfere with the effectiveness of the dermaplaning process. A clean surface allows for better results and minimizes the risk of irritation.
- Choosing a Gentle Cleanser: Opt for a gentle, hydrating cleanser that suits your skin type. Look for ingredients that do not strip your skin of natural oils, such as aloe vera or glycerin. Avoid harsh exfoliating cleansers, as they can cause irritation before you even begin dermaplaning.
- Cleansing Technique: Apply the cleanser to your wet face using your fingertips. Use circular motions to massage the product into your skin, focusing on areas that might be particularly oily or congested. This not only ensures effective cleansing but also promotes blood circulation.
- Rinsing Off: After massaging the cleanser into your skin for about 30 seconds, rinse your face thoroughly with lukewarm water. Ensure that all cleanser residue is washed away, as leftover product can lead to issues during dermaplaning.
- Drying Your Skin: Once your face is clean, gently pat your skin dry using a clean towel. Avoid rubbing your face with the towel, as this can cause irritation or micro-abrasions. Make sure the towel you use is fresh and clean to prevent introducing any bacteria to your skin.
Sanitize Your Tool
- Necessity of Sanitation: Sanitation of your dermaplaning tool is a crucial step before using it. Proper sanitization prevents any contamination that could lead to infections or irritation during the dermaplaning process.
- Using Alcohol Wipes: Take a clean alcohol wipe or a cotton pad soaked in isopropyl alcohol. This substance is effective in killing a wide range of bacteria and viruses, making it ideal for sanitizing medical or grooming tools.
- Sanitizing the Blade: Wipe down the blade of your dermaplaning tool carefully. Ensure that all surfaces of the blade are covered to eliminate any potential contaminants. Also, sanitize the handle and any other areas that come in contact with your skin.
- Inspecting the Tool: After sanitizing, take a moment to inspect your tool for any signs of damage or dullness. A clean and sharp blade is crucial for effective and safe dermaplaning. If the blade appears worn, consider replacing it before your next session.
- Storing the Tool Properly: Once the tool is sanitized and inspected, set it aside in a clean area to dry completely. Avoid putting it away in a case or drawer while still wet to prevent the growth of bacteria. Proper storage helps maintain the tool’s hygiene and longevity, ensuring it’s ready for your next use.
Step 2: Position the Tool
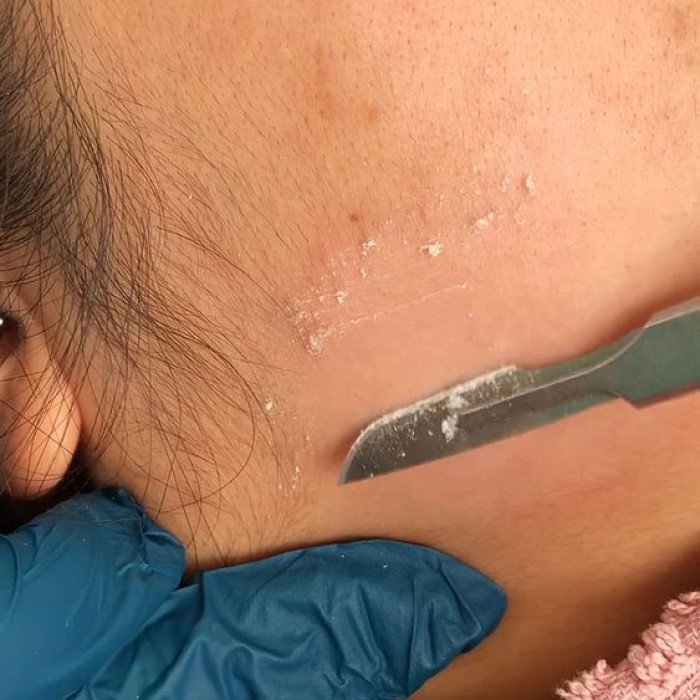
- Angle the Blade: Hold the dermaplaning tool at a 45-degree angle to your skin. This positioning helps deliver a more effective exfoliation while minimizing the risk of cutting your skin.
- Start on Small Areas: Begin with small sections of your face, such as your cheeks. Gently glide the blade across the skin in short, soft strokes, moving in the direction of hair growth.
Step 3: Continue the Process
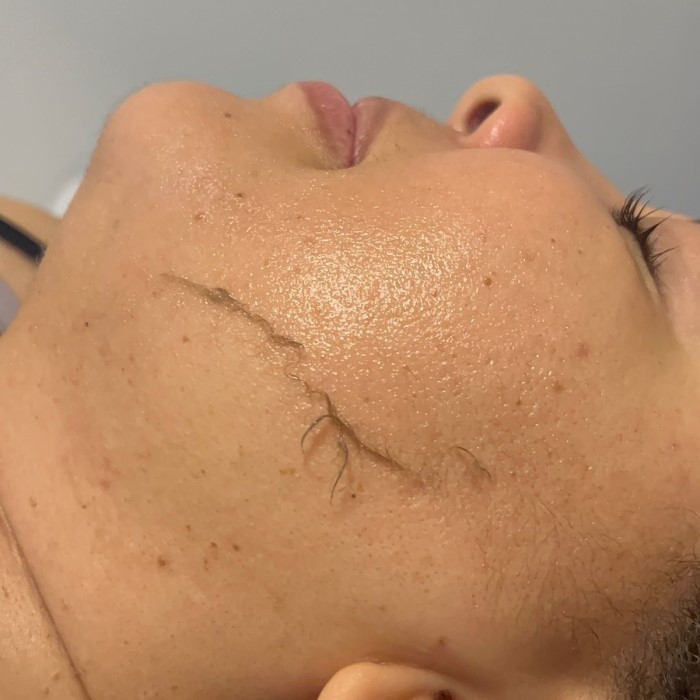
- Work Methodically: Continue to work around your face, including areas like the forehead and chin. Avoid sensitive areas, such as around the eyes and any active breakouts.
- Be Gentle: Apply minimal pressure. The goal is to remove dead skin rather than aggressively scrub the surface.
Step 4: Finish and Care
Moisturize
- Importance of Moisturization: After completing the dermaplaning process, moisturizing is a crucial step. Exfoliation removes dead skin cells, which can leave your skin feeling dry or vulnerable. Applying moisturizer helps to replenish moisture and restore the skin’s barrier.
- Choosing the Right Product: Opt for a good quality moisturizer that is suitable for your skin type. If you have dry skin, look for rich creams or lotions with ingredients like shea butter or hyaluronic acid. For oily or combination skin, consider a lightweight, oil-free moisturizer.
- Application Technique: When applying the moisturizer, use gentle, upward strokes. This technique helps promote circulation and absorption. Take your time to ensure that the product is evenly distributed across your face, including areas that may be prone to dryness.
- Consider a Soothing Serum: In addition to a moisturizer, you might want to apply a soothing serum that contains ingredients like aloe vera, chamomile, or green tea extract. These ingredients can calm any irritation and provide additional hydration, contributing to a refreshed appearance.
- Timing is Key: It’s best to apply moisturizer immediately after dermaplaning when your skin is still slightly damp. This allows the product to lock in moisture and effectively hydrate your skin, maximizing the benefits of your skincare routine.
Clean the Tool
- Importance of Cleaning: After using your dermaplaning tool, it is crucial to clean it properly. This step not only ensures the longevity of the tool but also prevents any potential infections or irritations on your skin during future use.
- Rinsing the Tool: Begin by rinsing your dermaplaning tool under warm, running water. This helps to remove any skin flakes or product residue left on the blade. Be thorough to ensure that no remnants are left behind.
- Sanitizing: After rinsing, use an alcohol-based sanitizer or disinfectant to give the tool a thorough cleaning. Dampen a cotton pad or tissue with the sanitizer and wipe down the blade and handle. This step is essential for maintaining hygiene and preventing the buildup of bacteria.
- Drying the Tool: Once cleaned and sanitized, shake off any excess water and place the tool on a clean, dry surface. Allow it to air dry completely before storing it. Avoid immediately putting it back in a case or drawer while it’s still wet, as this can lead to rusting or deterioration of the blade.
- Storage Tips: Store your dermaplaning tool in a safe and clean location. A protective case or pouch can help keep it in good condition and protect the blade from damage while not in use. By taking these steps, you ensure your tool is ready for the next dermaplaning session, maintaining its effectiveness and safety.
Frequency of Dermaplaning
Knowing how often to dermaplane is crucial for maintaining healthy skin. Generally, it is recommended to derma-plane your face once every three to four weeks. This interval allows your skin sufficient time to regenerate, ensuring optimal results without causing irritation. However, factors such as individual skin type and sensitivity should also be considered. Always listen to your skin’s response and adjust your timing accordingly.
FAQ: Common Questions About Dermaplaning
Is it good to dermaplane your face at home?
Yes, dermaplaning at home can be a beneficial addition to your skincare routine. It helps improve skin texture, promotes better product absorption, and can be done affordably. However, technique and cleanliness are crucial.
Is it better to dermaplane wet or dry?
Most professionals recommend dermaplaning on dry skin for best results. Wet skin can lead to slipping and may reduce accuracy. Make sure your skin is clean and free of products before starting.
How often should I dermaplane my upper lip?
For the upper lip and other areas, dermaplaning every three to four weeks is advisable. This ensures that your skin has time to properly regenerate between treatments.
What are the disadvantages of dermaplaning your face?
While dermaplaning is generally safe, potential disadvantages can include irritation, redness, and the risk of cuts if not performed correctly. Those with active acne or certain skin conditions should consult a dermatologist prior to dermaplaning.
Conclusion
In conclusion, dermaplaning at home offers an affordable and effective solution for achieving smooth, radiant skin. By investing in the right tools, following a careful process, and maintaining proper hygiene, you can enjoy the benefits of professional treatments without breaking the bank. As you incorporate dermaplaning into your skincare regime, remember to listen to your skin and adapt as needed. Whether you’re looking to enhance your makeup application or simply enjoy fresher skin, the practice of dermaplaning can be a rewarding and transformative experience for your skincare routine. Enjoy your journey to beautiful skin!