The Beginner’s Guide to Wig Install: Your Path to Gorgeous Hair
Introduction
Entering the world of wigs can transform your look instantly. But before diving into wig install, understanding the basics is key. Wig installation may seem challenging at first. Yet, with the right guidance, it can become an easy part of your beauty routine.
Wig install begins with choosing the right type of wig. The choice depends on your lifestyle, budget, and the desired look. Whether it’s for everyday wear or a special event, the wig must match your needs. Next, gather the essential tools and supplies. These include a wig cap, clips, tape or glue for securing the wig, and scissors.
Preparation is crucial for a successful wig install. Prepping your natural hair to sit flat is important. A flat base ensures your wig sits naturally and comfortably on your head. Understanding how to handle and apply adhesives is also vital. It assures your wig remains secure throughout the day.
Throughout this guide, we’ll cover everything from the types of wigs, installation methods, essential tools, and step-by-step instructions. We will also provide tips to wear your wig comfortably and safely. Additionally, you’ll learn how to style and care for your wig after installation. Moreover, we’ll discuss the common mistakes to avoid, and how to remove and maintain your wig.
With patience and practice, wig install can be a fun and rewarding experience. Let’s embark on this journey to achieving a flawless wig look.
Types of Wigs and Their Installation Methods
When you step into the world of wigs, you’ll find various types to choose from. Each type needs specific installation methods to ensure a seamless look. Here are the most common wig types and how to install them:
Synthetic Wigs
These wigs are made from artificial fibers. They’re affordable and come in many styles.
- Installation: Simply position the wig on your head. Adjust the straps for a snug fit.
Human Hair Wigs
Made from real hair, they offer a natural look. They are pricier but last longer.
- Installation: Use wig glue or tape for a secure hold. Trim the lace to match your hairline.
Lace Front Wigs
The lace front provides a natural hairline. They blend well with your skin.
- Installation: Cut the lace to fit. Attach with glue or tape around the edges.
Full Lace Wigs
These offer styling versatility with a natural scalp look. They are high-end wigs.
- Installation: Apply glue or tape all over the hairline and perimeter. Trim excess lace carefully.
360 Lace Wigs
These wigs have lace all around. They are perfect for updos and high ponytails.
- Installation: Secure with adhesive around the entire hairline and nape area.
U-Part Wigs
They allow you to blend your natural hair through a U-shaped opening.
- Installation: Clip the wig into place. Leave out and style your natural hair to blend.
For each wig install, start with a wig cap to flatten your hair and ensure a smooth base. Remember to choose a method that feels comfortable and suits your lifestyle. With the right approach, you can achieve a beautiful and natural-looking wig installation.
Essential Tools and Supplies for Installing a Wig
Before starting the wig install process, gathering the right tools and supplies is essential. Here’s a list of must-haves for a smooth installation.
- Wig Cap: Acts as a protective layer between your natural hair and the wig.
- Clips or Hair Ties: Helps to section and hold back your hair or the wig during installation.
- Scissors: For trimming lace or cutting excess material to fit your head shape better.
- Adhesive: Wig glue or double-sided wig tape ensures your wig stays in place.
- Adhesive Remover: To safely remove the wig and any residue left by adhesives.
- Fine-tooth Comb or Brush: For smoothing out your natural hair and styling the wig.
- Alcohol Wipes: For cleaning the skin around your hairline before applying adhesive.
- Styling Products: Such as mousse, hairspray, or heat protectant for styling the wig.
- Mannequin Head: Optional but useful for storing the wig and making styling easier.
Having these tools at your disposal will aid in a hassle-free wig install. Always test adhesives and removers on a small area of skin first to prevent allergic reactions. Choose tools that suit your skill level and comfort. With the right preparation, your wig will look natural and stay secure all day.
Step-by-Step Guide to Installing a Lace Front Wig
Installing a lace front wig can seem complex. But breaking it down into steps can help. Follow this easy guide for a successful wig install.
Choose the Right Lace Front Wig
Pick a wig that matches your style and comfort needs. Ensure it’s the right size for your head.
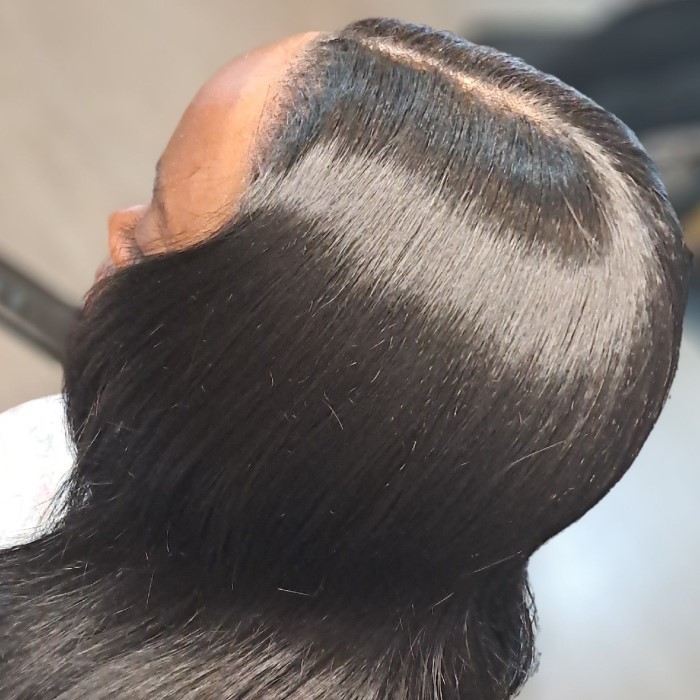
Prepare Your Natural Hair
Flatten your natural hair against your scalp. Use a wig cap to create a smooth surface.
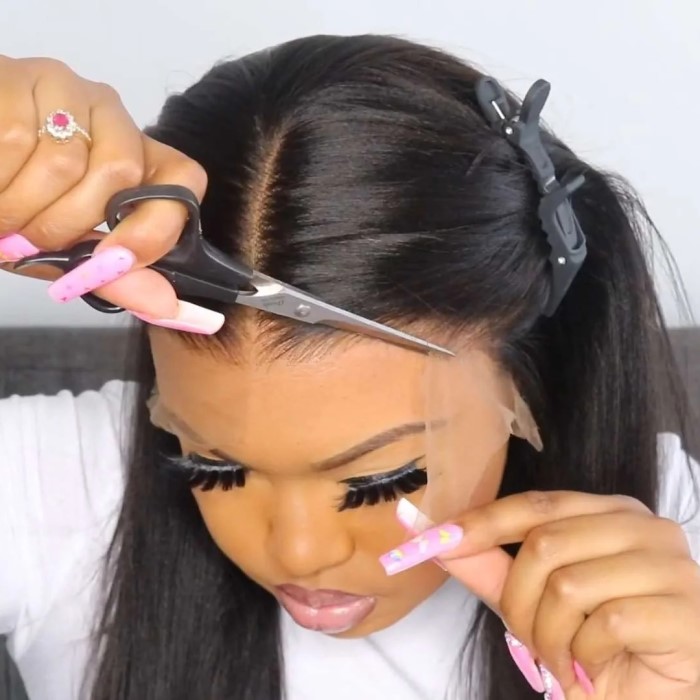
Test Fit the Wig
Before adding any adhesive, position the wig on your head. Trim the lace as needed.
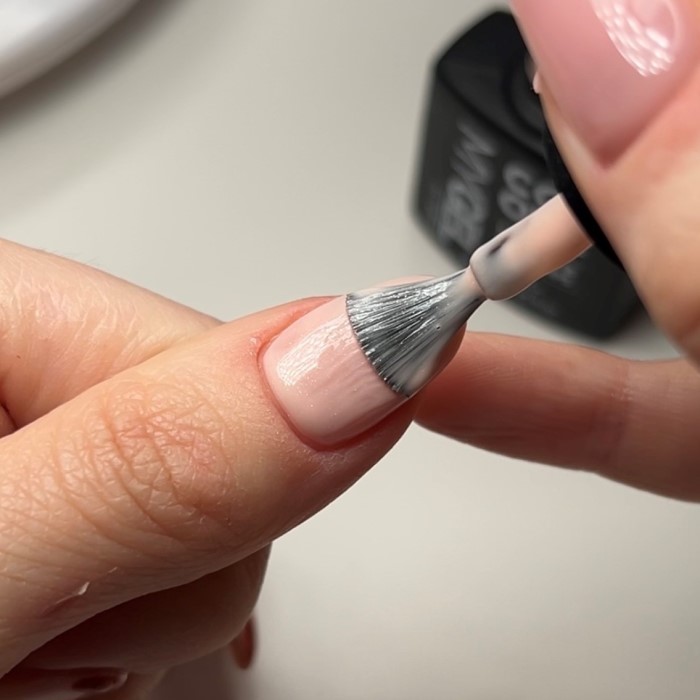
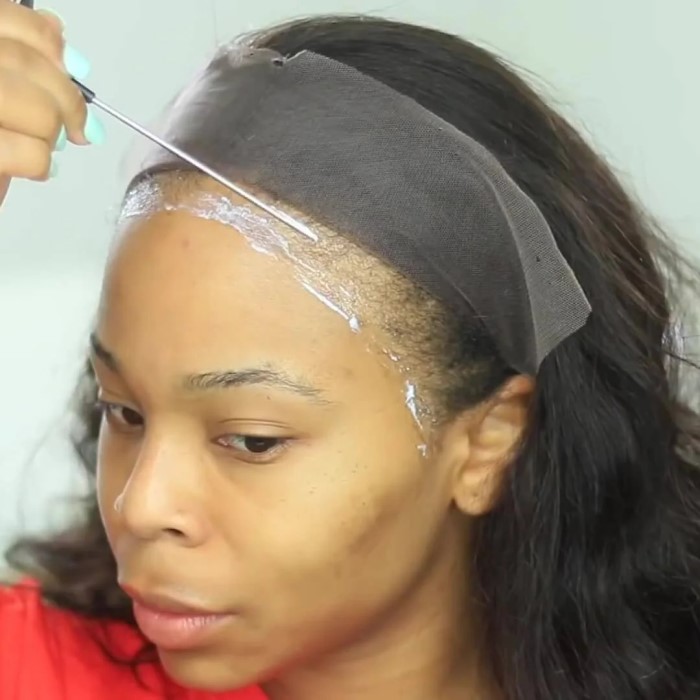
Apply Adhesive
Clean your skin with alcohol wipes. Then apply wig glue or tape around your hairline.
Position the Wig
Carefully place the lace front wig on your head. Align it with your natural hairline.
Press and Secure
Gently press down along the edges of the wig. This helps it to bond with the adhesive.
Style as Desired
Once the wig is secure, you can style it. Use styling tools and products cautiously.
With practice, lace front wig installs become easier. Remember to stay patient and gentle during the process. This ensures a snug, comfortable, and natural-looking wig fit.
Tips for Securing Your Wig Comfortably and Safely
Securing a wig properly is essential for comfort and a natural look. Here are practical tips for a safe and snug fit:
- Select the Right Size: A wig that fits your head securely won’t need excessive tightening. This reduces discomfort.
- Use Quality Adhesive: Opt for high-quality wig glue or tape. Ensure it’s safe for your skin type.
- Avoid Over-tightening: If your wig has straps, adjust them so they are firm but not too tight. Over-tightening can lead to headaches.
- Apply Adhesive Correctly: Follow the product instructions for applying wig adhesive. This prevents slipping and skin irritation.
- Protect Your Edges: Use a wig cap to shield your natural hair. Pay special attention to your hairline to prevent breakage.
- Take Breaks: Remove your wig periodically to let your scalp breathe. This helps maintain your natural hair health.
- Balance Security with Comfort: Your wig should feel secure without causing pressure. Adjust as needed for the best fit.
By following these tips, you can ensure that your wig install is both comfortable and secure. With the right preparation, your wig will look natural and feel like a second skin.
How to Style and Care for Your Wig Post-Installation
After successfully installing your wig, styling, and maintaining it is crucial for longevity and appearance. Here’s a straightforward guide to help you take care of your wig after installation.
Choosing Styling Tools and Products
Utilize only styling tools and products suitable for wig fibers. Synthetic wigs need a lower heat setting. Human hair wigs can handle more versatility in styling.
- Use a wide-tooth comb or a brush designed for wigs.
- Choose a low-heat setting if using heat tools.
- Apply wig-friendly products to keep the style in place.
Washing Your Wig
Clean your wig regularly, but do not over-wash it.
- Detangle gently before washing.
- Use shampoo and conditioner made for wigs.
- Wash carefully in cool water and air dry.
Routine Care Tips
Regular care keeps your wig looking fresh.
- Store on a mannequin head to keep its shape.
- Keep away from high heat and humidity.
- Avoid sleeping or showering in your wig.
Addressing Tangles and Shedding
Tangles and shedding can occur with regular wear.
- Detangle gently, starting from the ends.
- Trim flyaways carefully if necessary.
- Use a knot sealer to minimize shedding.
Professional Maintenance
Consider professional help for tricky issues.
- Get the wig styled or trimmed by a professional.
- Seek expert advice if you notice damage.
Follow these steps for a wig that stays beautiful and durable. Remember to incorporate these tips into your routine for the best wig install experience.
Common Mistakes to Avoid During Wig Installation
Wig installation can be a tricky process, and it’s easy to make mistakes. To ensure a smooth and successful wig install, it’s important to be aware of common pitfalls. Here are some mistakes to avoid:
Not Measuring Your Head
- Importance of Measurement: Always measure your head before purchasing a wig. Accurate measurements are crucial for ensuring a proper fit.
- Using a Measuring Tape: Take a soft measuring tape and wrap it around the widest part of your head. This includes measuring around your forehead, above your ears, and around the back of your head.
- Benefits of Proper Measurement: By measuring your head, you reduce the likelihood of needing extensive adjustments after installation. A well-fitted wig will sit more comfortably and securely.
Ignoring Wig Cap Needs
- Significance of a Wig Cap: Skipping the use of a wig cap can lead to an uneven base that affects the final look of your wig. A cap provides a smooth and flat surface for the wig to rest on.
- Types of Wig Caps: There are various types of wig caps available, including nylon, mesh, and silicone options. Choose one that best suits your preferences and hair type.
- Creating an Even Base: A wig cap helps to flatten any natural hair beneath and prevents slipping. It also acts as a protective layer against adhesives and glues used during installation.
Poor Adhesive Application
- Avoiding Messiness: Applying too much glue or tape can create a messy situation, diminishing the look of your wig. Excess adhesive can seep out, causing visible residue and a less polished appearance.
- Applying the Right Amount: Aim to use just enough adhesive to secure the wig properly. An even and controlled application will provide a cleaner result.
- Techniques for Application: Use a small brush or applicator to spread the adhesive evenly. This technique helps to avoid over-application and ensures that your wig is securely fastened.
Skipping the Hairline Prep
- Preparing Your Hairline: Before adding any adhesive, clean your hairline with alcohol wipes. This step helps remove oils, dirt, or product buildup, all of which can interfere with proper adhesion.
- Enhancing Adhesion: A clean surface promotes better adhesive performance, leading to a more secure hold for your wig. This means less likelihood of slippage during wear.
- Reducing Residue: Properly preparing your hairline can also minimize any sticky residue left behind after removing the wig, making the process easier and more comfortable.
Neglecting to Test Fit
- Importance of Testing Fit: Always try on the wig before committing to a permanent installation. This step allows you to assess how it sits on your head and whether any adjustments are needed.
- Adjusting for Comfort: During the fitting, check for tightness and position. Adjust straps or any components to ensure comfort and security.
- Trimming Lace as Needed: If your wig has lace, consider trimming the lace edges to create a more natural hairline. This adjustment can improve the overall appearance.
Using the Wrong Adhesive
- Understanding Adhesive Suitability: Not all adhesives are designed for every individual. Different skin types react variously to adhesives, and choosing the wrong type can lead to irritation or improper bonding.
- Conducting a Patch Test: Before using a new adhesive, perform a patch test on a small area of your skin to check for any reactions. This precaution helps avoid potential allergic reactions.
- Choosing the Right Product: Seek adhesives specifically formulated for wigs and ensure they are safe for your skin type. There are options available for sensitive skin, providing a comfortable experience.
Styling Before Securing
- Why Secure First?: It’s essential to fully secure your wig before attempting any styling. Styling before securing can lead to unnecessary movement and shifting of the wig.
- Preventing Potential Damage: An unsecured wig is more prone to damage during styling. This could result in a less natural look or even damage to the wig itself.
- Establishing Stability: Once your wig is securely attached, you can then focus on styling with confidence, knowing that the wig will not shift out of place.
Overlooking Wig Maintenance
- Importance of Wig Care: Caring for your wig extends its lifespan significantly. Regular maintenance maintains its appearance and functionality over time.
- Storage Practices: Store your wig properly by using a wig stand or in a breathable bag. This prevents tangling and helps retain its shape.
- Cleaning Routine: Keep your wig clean by washing it as needed. Use products designed for wigs to preserve quality while maintaining a fresh look.
Rushing the Process
- Taking Your Time: Installing a wig is not a task to rush through. Taking your time ensures that you complete each step thoroughly, resulting in a better final look.
- Preventing Mistakes: When you rush, you increase the chances of making errors, which can lead to discomfort and an unappealing appearance.
- Achieving a Natural Look: By working methodically, you can achieve a more polished and natural effect, allowing you to feel confident in your hairstyle.
By avoiding these common errors, you’re more likely to achieve a natural-looking and comfortable wig install. Remember, practice makes perfect, and being mindful of these steps will increase your confidence in the wig installation process.
Removing and Maintaining Your Wig
When the day is done, removing and maintaining your wig is as important as the install itself. Proper removal and care ensure your wig stays in top condition, ready for future use. Here’s how to do it right:
Gently Remove Your Wig
Start by loosening any adhesive with a remover specifically designed for wig glue or tape. Patience is key; do not pull or tug. Instead, gently lift the wig from one side to the other.
Clean Your Wig Regularly
Once off, clean your wig following the product instructions. This might mean a gentle shampoo for human hair wigs or a special cleaner for synthetics. Always comb out tangles before washing.
Proper Drying Is Important
Avoid wringing out your wig. Instead, blot it with a towel and leave it to air dry on a mannequin head to preserve its shape.
Store Your Wig Correctly
Keep your wig away from direct sunlight in a cool, dry place when not in use. Use a wig stand to avoid kinks or tangles.
Regular Maintenance Is Key
Just like natural hair, wigs need regular trimming, detangling, and styling to look their best. Schedule time for wig maintenance, just as you would for a hair appointment.
With each correct step in removing and maintaining your wig, you’re not only protecting your investment but also ensuring the longevity and appearance of your wig for future installs.
Conclusion: Embrace Your New Look with Confidence
In conclusion, mastering wig install can dramatically enhance your hairstyle without the commitment of permanent changes. By following this beginner’s guide, you are equipped with the knowledge needed to select, install, and care for your wig effectively.
Wigs offer versatility and style, allowing you to express your personality and creativity. Embrace the journey of experimenting with different looks while gaining confidence that comes from understanding wig install techniques. With practice, you will achieve gorgeous hair that reflects your unique style, giving you the freedom to change your look whenever you desire.
Enjoy the transformation and make the most of your wig collection!