How to Clean Nail Art Brushes: Tips for Long-Lasting Bristles
Introduction to Cleaning Nail Art Brushes
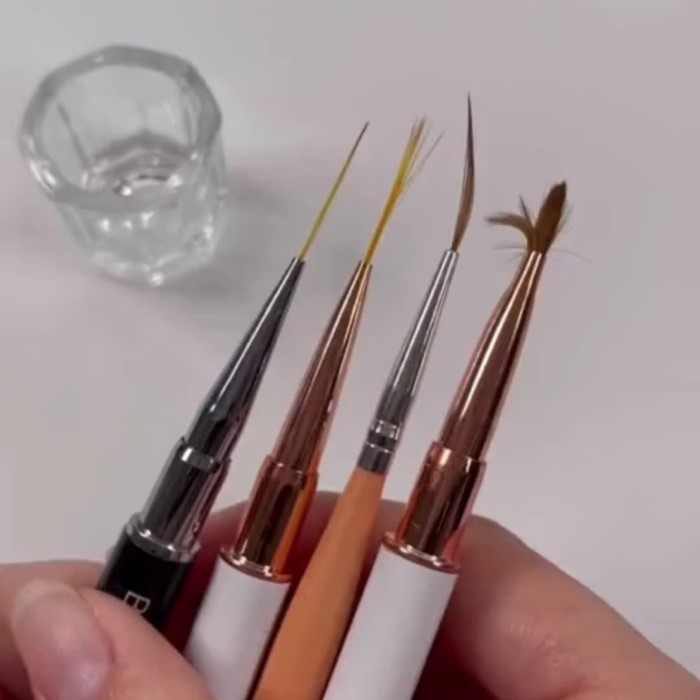
If you’re passionate about nail art, you know that maintaining your tools is crucial for achieving stunning designs. This brings us to the indispensable topic of how to clean nail art brushes. Properly cleaned brushes not only enhance your artwork but also ensure longevity, and they prevent the buildup of old polish that can affect future applications. In this guide, we’ll explore various techniques and tips for cleaning nail art brushes effectively to keep them in top shape for all your creative projects.
The Importance of Regular Cleaning
Cleaning your nail art brushes should be a non-negotiable routine. Brushes that harbor old polish, dust, and debris can lead to unsatisfactory application and color mixing, ultimately diminishing the quality of your nail art. Furthermore, using dirty brushes can result in bacteria buildup, posing a risk to nail health. Thus, regular cleaning not only preserves the aesthetics of your design but also promotes good hygiene.
What Can You Use to Clean Nail Art Brushes?
When it comes to cleaning nail art brushes, various cleaning agents can be used. Below are some effective options to consider:
1. Nail Polish Remover
Nail polish remover is commonly used and effective. Acetone-based removers dissolve nail polish quickly. However, be careful, as frequent use can degrade the bristles over time. Opt for acetone-free removers for regular cleaning, as they are less harsh.
2. Soap and Water
A simple but effective combination. Use warm water and a gentle liquid soap, such as dish soap or even baby shampoo. This method is ideal for routine cleaning once polish build-up is minimal.
3. Rubbing Alcohol
Rubbing alcohol is another excellent option for cleaning nail art brushes. It acts as a disinfectant and can remove stubborn residue while being relatively gentle on the bristles.
4. Brush Cleaner Solutions
Several commercial brush cleaners are specifically formulated for cleaning nail art brushes. These solutions typically offer gentle lubrication that protects the bristles while effectively removing polish.
5. Oil-Based Cleaners
Some nail artists prefer using oil-based cleaners. They can lubricate the brush bristles while maintaining their shape, making them easier to clean.
It’s worth noting that while using these products, you should always test a small area first to ensure that the cleaner does not damage the bristles of the brush.
How to Get Nail Polish Out of Nail Art Brushes
When nail polish has dried in your brushes, it can be troublesome, but don’t worry—getting it out is entirely achievable. Here’s how:
1. Soak in Remover
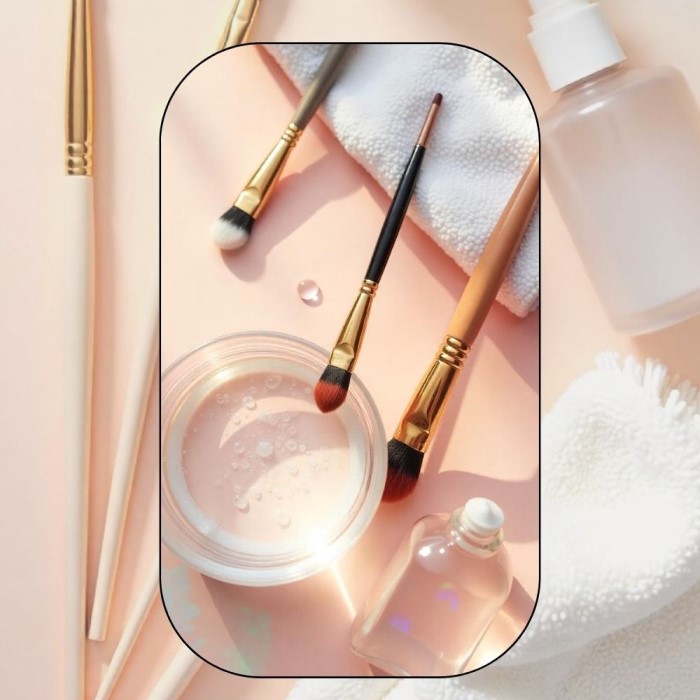
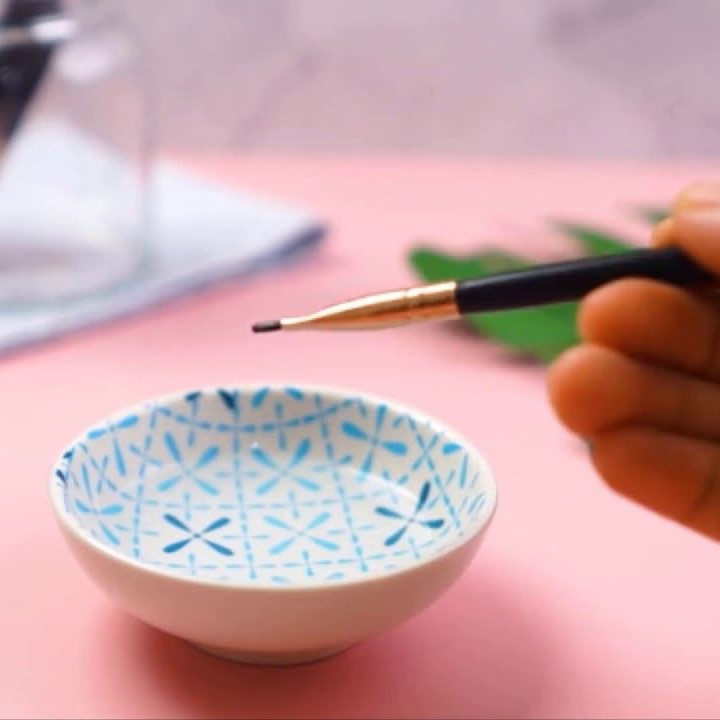
Begin the cleaning process by pouring an adequate amount of nail polish remover into a shallow dish. Make sure the remover covers the bottom of the dish to create a proper soaking environment. Place the bristles of the nail art brush into the remover, ensuring that only the bristle portion is submerged—avoid dipping the entire ferrule (the metal part) into the liquid, as this can weaken the bond that holds the bristles in place. Allow the brush to soak for several minutes; typically, three to five minutes is sufficient. The acetone or acetone-free components in the remover will work to penetrate the polish, softening it and loosening any stubborn buildup. This soaking step is vital, as it prepares the brush for easier and more effective cleaning.
2. Gently Wipe
Once the bristles have soaked for an appropriate time, take a soft paper towel or a clean cloth in hand. Carefully remove the brush from the remover and let any excess liquid drip off. With the bristles still damp, gently wipe them against the paper towel or cloth. This should be done with soft strokes, moving from the base of the bristles to the tips. The goal here is to lift and remove the softened polish without applying too much pressure, which could damage the bristles. You may need to rotate the brush periodically to ensure that all areas of the bristles are cleaned effectively. Repeat this wiping process until you see little to no polish residue remaining on the towel. This step will significantly improve the cleanliness of the brush.
3. Reshape the Brush
After removing the polish, it’s time to reshape the brush for future use. This is important for maintaining the brush’s functionality and ensuring precise application in your next nail art session. To reshape the bristles, gently run them along the palm of your hand or against a clean, flat surface, using light pressure. Be careful not to pull or twist the bristles harshly, as that could alter their shape or cause them to fray. If the bristles are still slightly misshapen after this step, you can hold them in your fingers to mold them back into their original form. Reshaping ensures that the bristles are aligned properly, which will contribute to a smooth application for your designs.
4. Final Rinse
The final step in the cleaning process involves rinsing the brush to remove any remaining residue from the remover and polish. Turn on the warm water and hold the brush under the stream, allowing the water to flow through the bristles. Ensure that all soap, remover, and polish residue are thoroughly washed away. Continue rinsing until the water runs clear, indicating that no cleaning product is left behind. This step is crucial, as residual chemicals can affect the brush’s performance and the quality of your nail art. Once rinsed, gently shake the brush to remove any excess water, and follow up with your preferred drying method, which might include laying the brush flat or hanging it to ensure proper air circulation. By completing this final rinse, you’ll prepare the brush for optimal performance when used in future applications.
By following these steps, it is possible to restore your brushes even after they have been misused, thereby extending their lifespan.
Can You Use Rubbing Alcohol to Clean Nail Polish Brushes?
Yes, using rubbing alcohol to clean nail polish brushes is not only permissible but highly effective. Rubbing alcohol serves as an excellent disinfectant and helps remove stubborn residues from nail polish. Simply follow these steps:
- Pour Alcohol: Use a small amount of rubbing alcohol in a shallow dish.
- Submerge the Bristles: Dip the bristles into the alcohol without immersing the entire ferrule, as too much moisture can weaken the glue holding the bristles.
- Swirl and Wipe: Swirl the brush around to help dissolve the polish, and then wipe it on a clean cloth or paper towel to remove the residue.
- Rinse and Dry: Once cleaned, rinse the brush briefly in warm water, reshape it, and let it air dry.
Rubbing alcohol is a practical and effective choice to keep your brushes free from gunk, enabling more flawless applications.
Can I Wash a Nail Polish Brush?
Absolutely! Cleaning a nail polish brush can be done safely with proper techniques. Here’s a straightforward method to wash your brushes:
- Preparation: Have your brush cleaner, soap, or polish remover ready along with warm water.
- Cleaning Process: Dip the brush in the cleaner and gently work the bristles with your fingers to remove any residue or polish buildup. Avoid pulling at the bristles aggressively, as it can damage them.
- Rinse Thoroughly: After cleaning, rinse the brush in warm water until all residues are gone. Ensure no cleaning product remains in the bristles.
- Shaping the Brush: Gently reshape the brush head with your fingers.
- Drying: Allow the brush to dry upside down on a clean towel to prevent moisture from causing bristle separation.
By adhering to these steps, you can maintain the integrity of your nail polish brushes, ensuring they remain usable for long periods.
Best Practices for Maintaining Nail Art Brushes
How to clean nail art brushes? To prolong the life of your nail art brushes, there are several best practices you should adopt regularly:
1. Clean After Each Use
Make it a habit to clean brushes after every application session. Removing polish promptly prevents residue buildup.
2. Use Proper Drying Methods
Never leave your brushes to dry standing upright in a cup. This can cause bristles to splay. Instead, lay them flat or upside down on a clean towel.
3. Avoid Harsh Chemicals
Steer clear of harsh chemicals that can damage the bristles. Opt for gentle cleaning solutions, which are safer for your brushes.
4. Store Properly
Store your brushes in a way that prevents bristle damage. Utilize brush holders or rolls that keep bristles safe from bending or being exposed to dust.
5. Inspect Regularly
Regularly inspect your brushes for any signs of wear or damage. Addressing issues early can save you from needing to replace brushes prematurely.
By following these practices, you can maintain your nail art brushes in top condition, facilitating easier designs and greater overall satisfaction.
Conclusion
In summary, knowing how to clean nail art brushes is essential for any nail art enthusiast aiming to achieve stunning results. Regular cleaning not only enhances your creativity but also ensures the longevity of your tools. Using effective cleaning solutions such as nail polish remover, soap and water, or rubbing alcohol will keep your brushes in excellent working condition.
Implement best practices for maintenance and prioritize the care of your brushes. By doing so, you’ll ensure that every nail art creation is flawless and professional. Follow these tips, and enjoy the satisfaction of clean tools and beautiful nail designs for years to come.
